
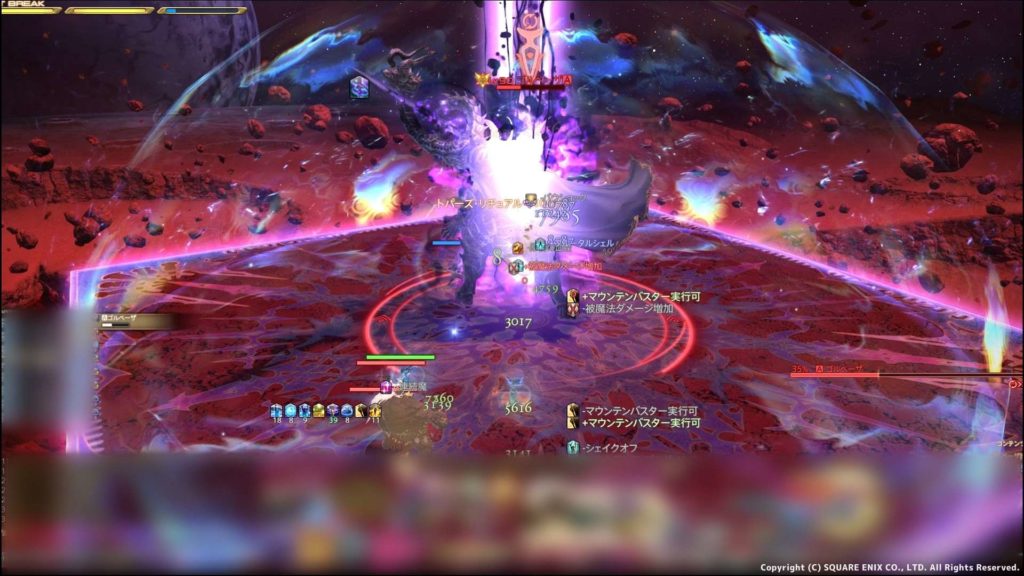
パッチ6.4で追加されたゴルベーザ討滅戦の簡易攻略解説です。
数回いっただけの床ペロ×3勢が作っているので参考程度にしてください。???と思ったら動画の確認を!
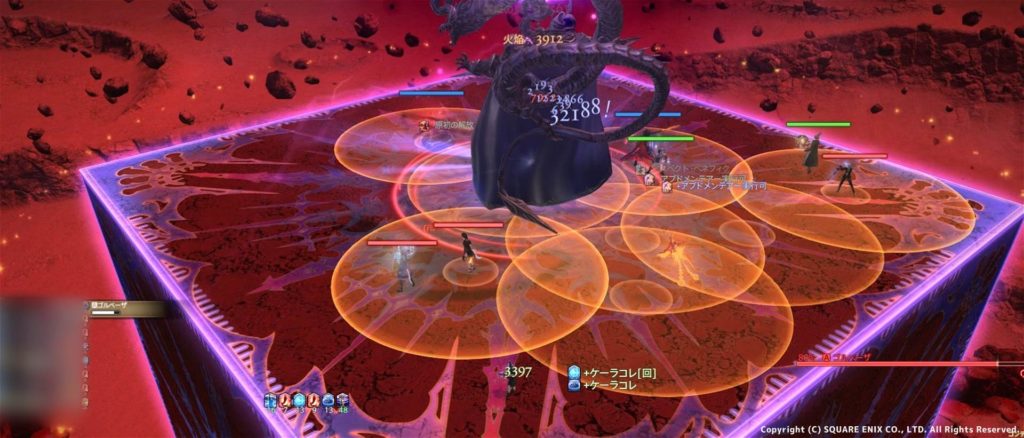
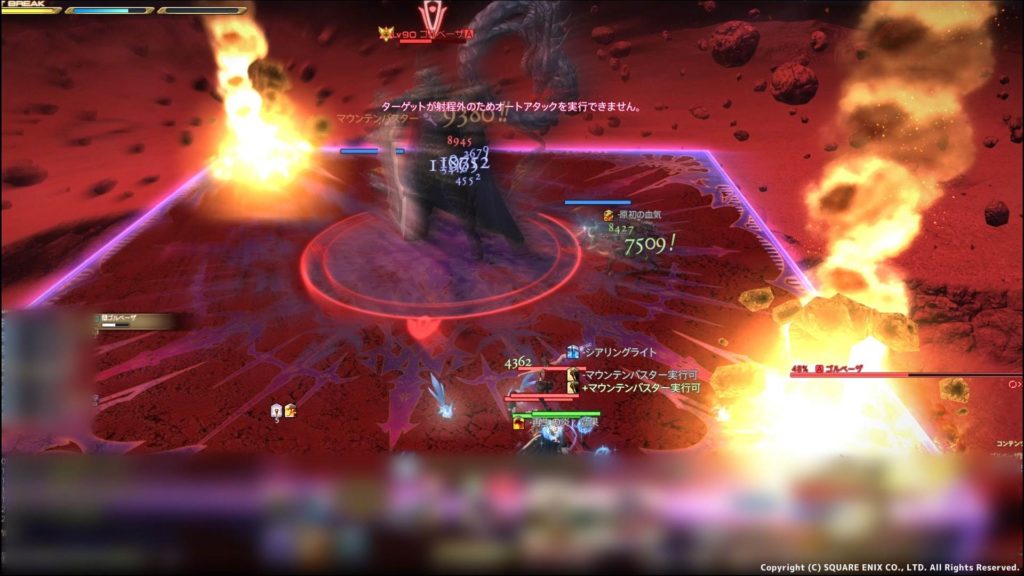
ディレイアース
- 隕石が落ちた場所に円範囲
範囲はフィールド半分ほどなのでこの次に来る弓月剣回避のため過度に離れすぎないのがポイント
動画で確認は弦月剣での部分で確認してください
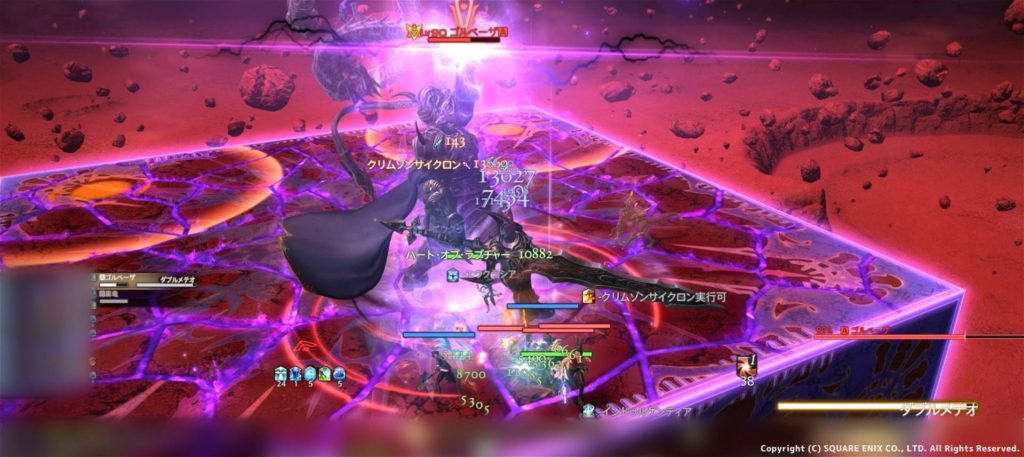
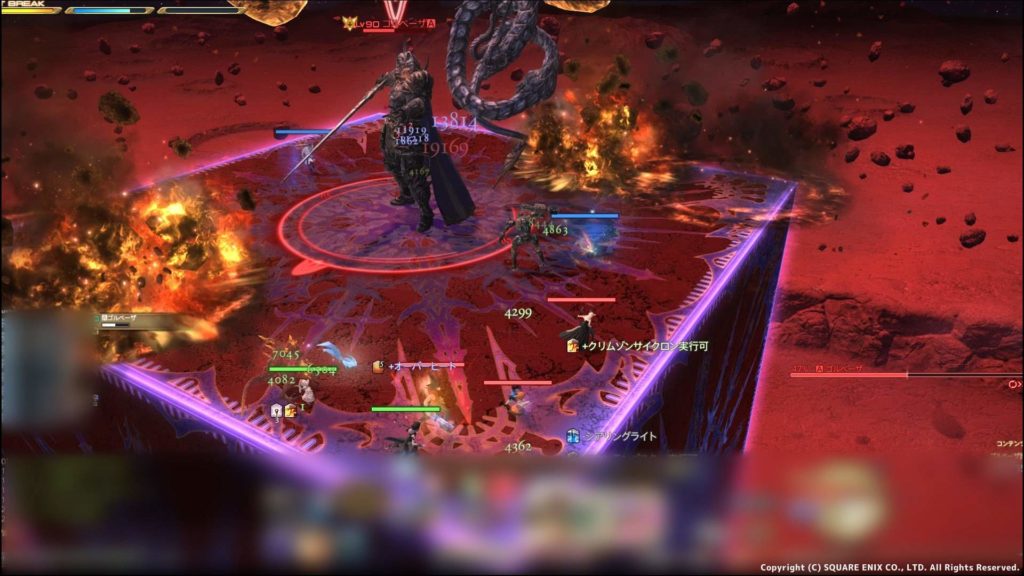
弦月剣
- ボスが向いている方向正面に180度範囲
ターゲットサークル横の矢印以上下がる
動画で確認
コールドブラスト
- トゲトゲがとがっている方向へ範囲攻撃
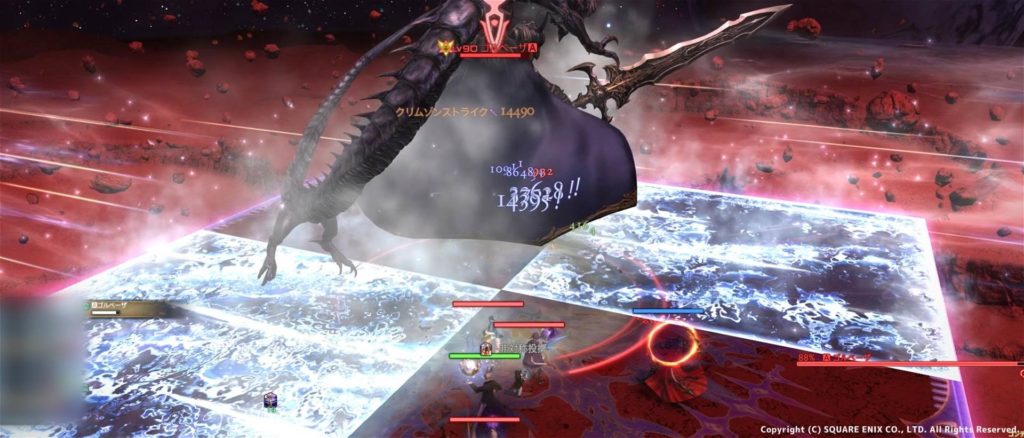
動画で確認
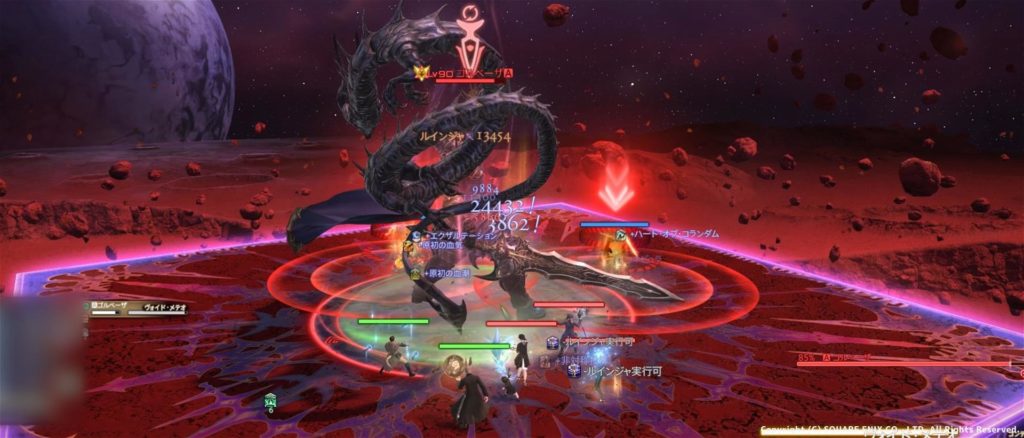
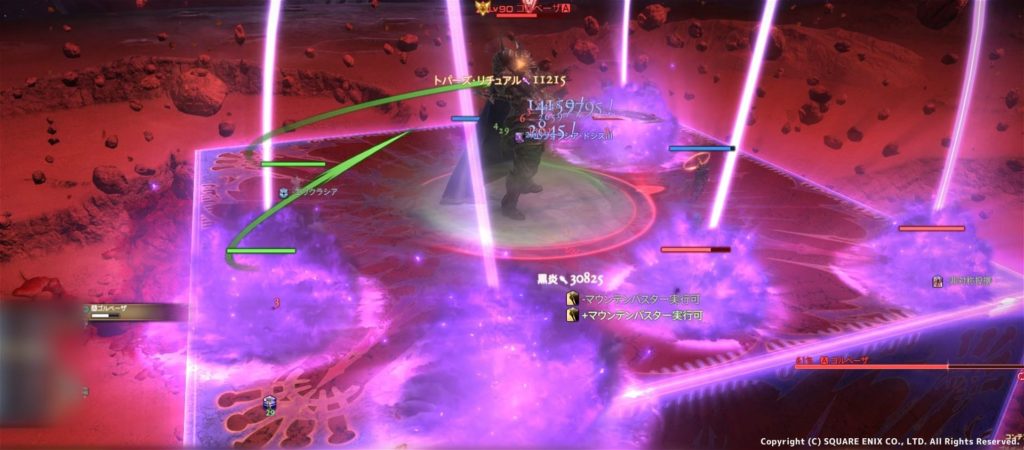
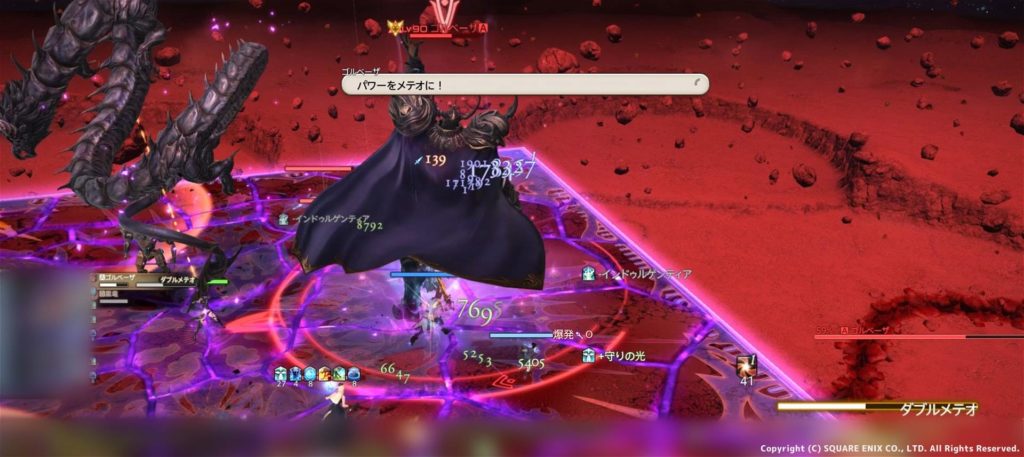
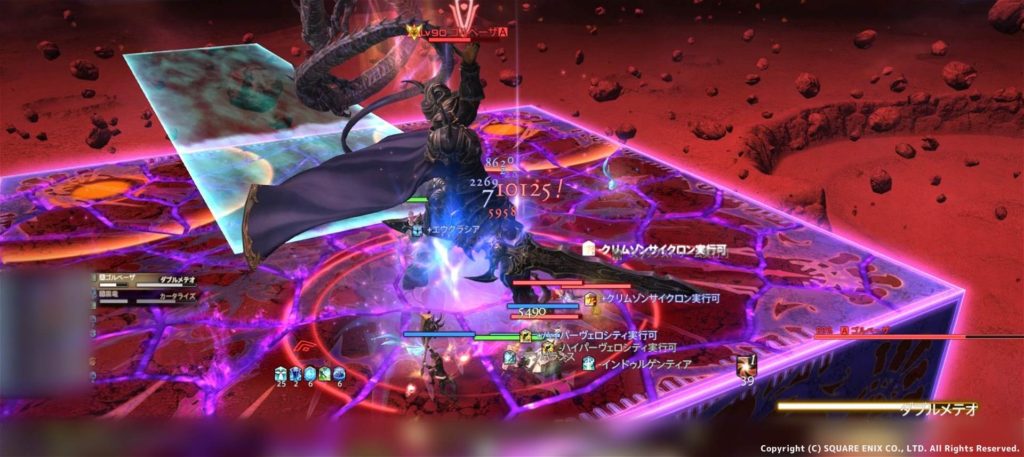
ヴォイド・メテオ
- タンクに連続強攻撃
最後の1激が痛いので注意
動画で確認
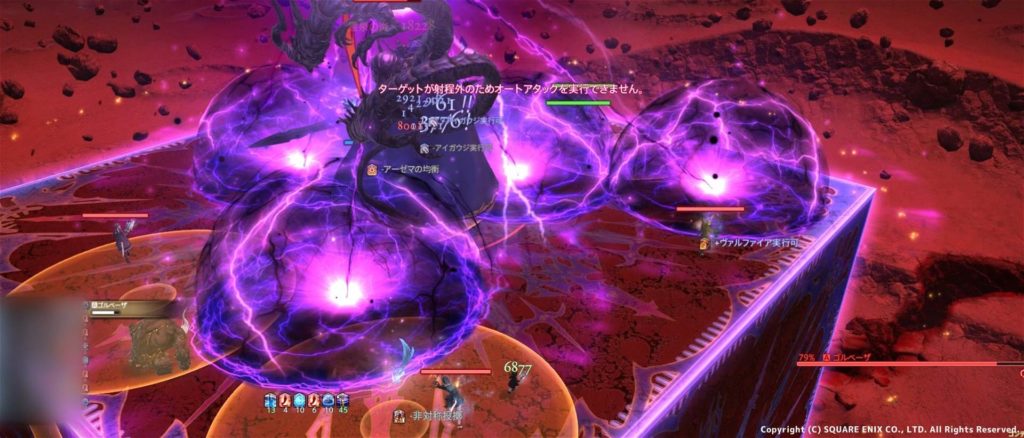
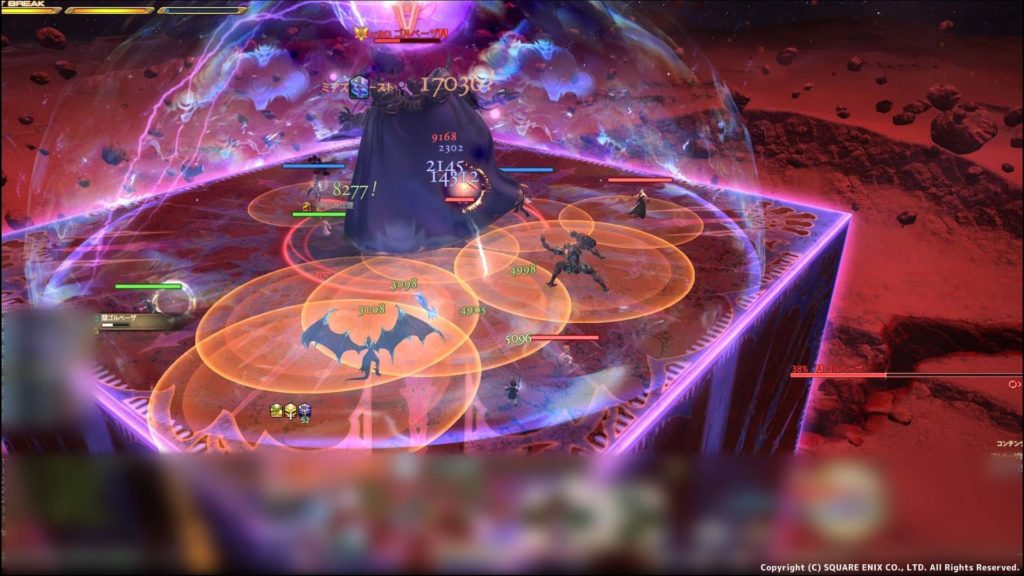
ディレイスパーク
- ランダムで4名に3連続追従円範囲
なるべく巻き込まないよう捨てる
終わるとすぐに弦月剣
動画で確認
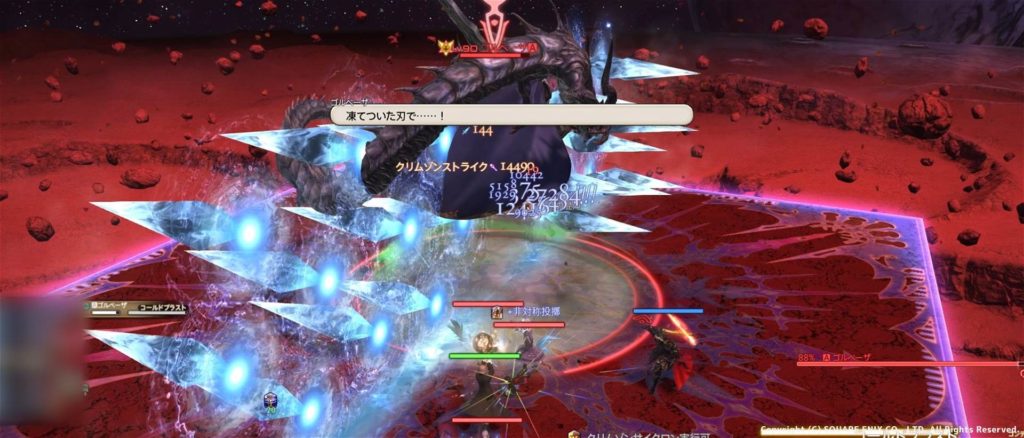
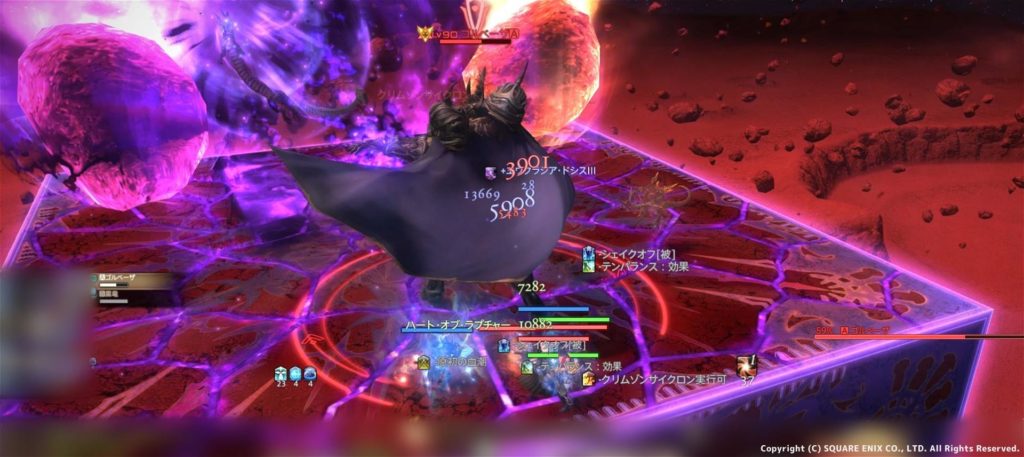
呪縛の冷気
- 全体攻撃+デバフ
デバフは継続ダメージが入るので軽減を入れておくと楽
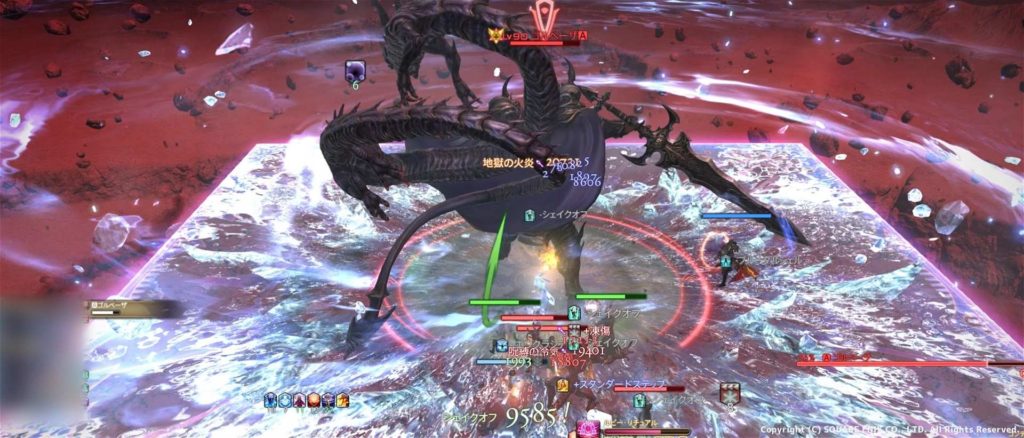
動画で確認
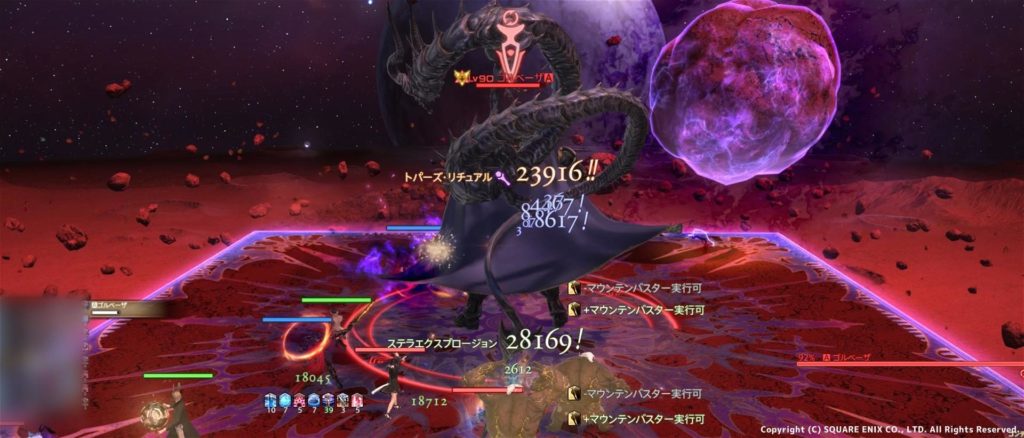
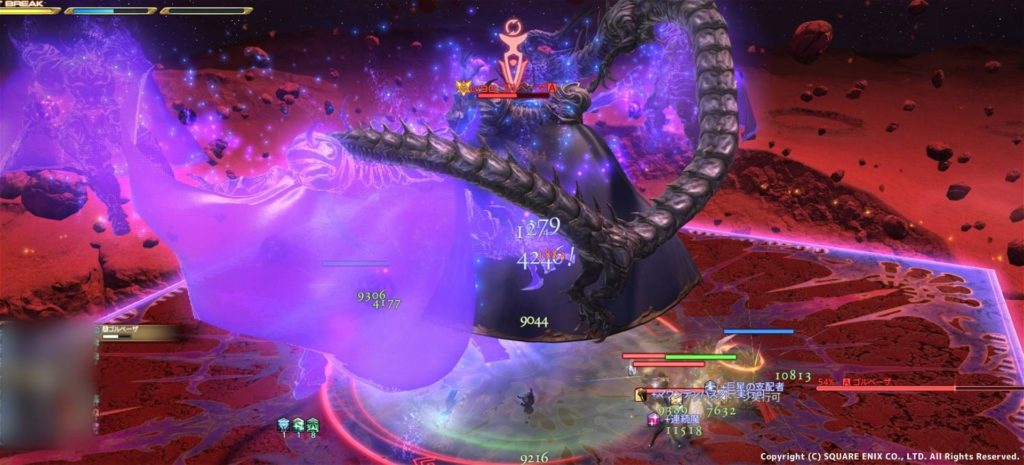
黒竜剣アジュダヤ
- イベントシーン⇒アジュダヤを剣にまとう
ゴルが俺かっこいいするだけです…。
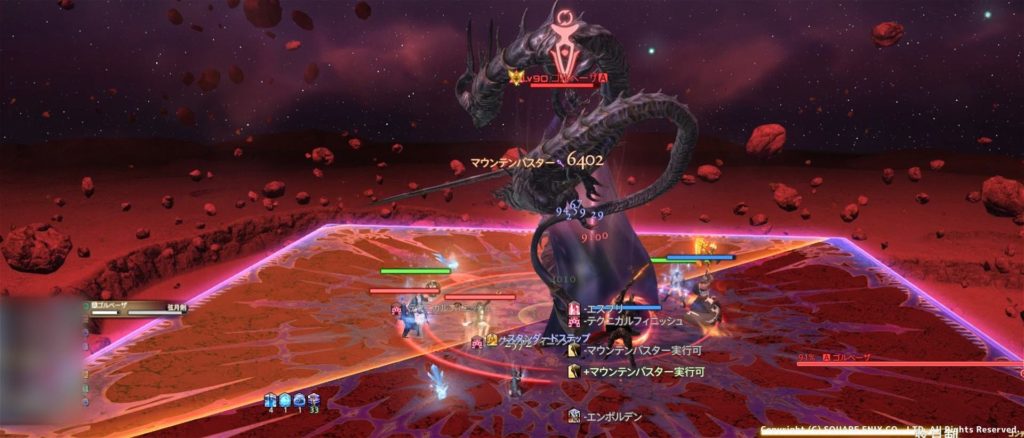
黒い牙
- 連続全体攻撃
ダメージは大小小小小大
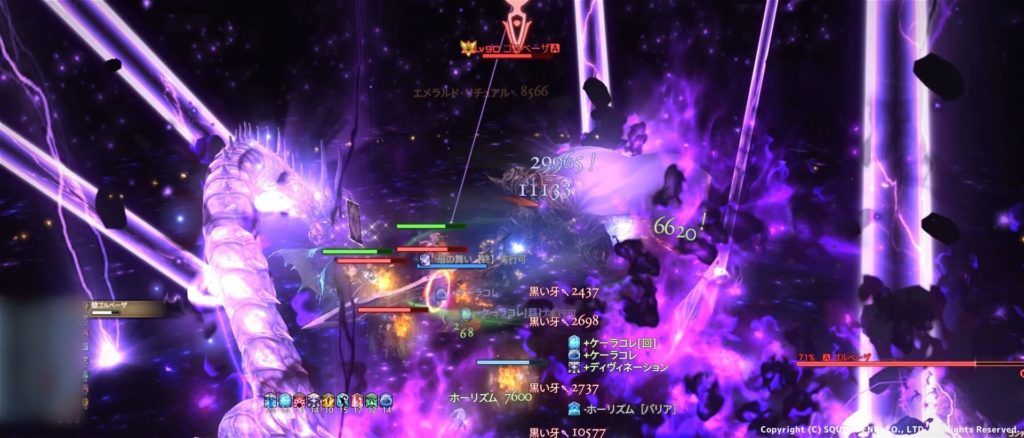
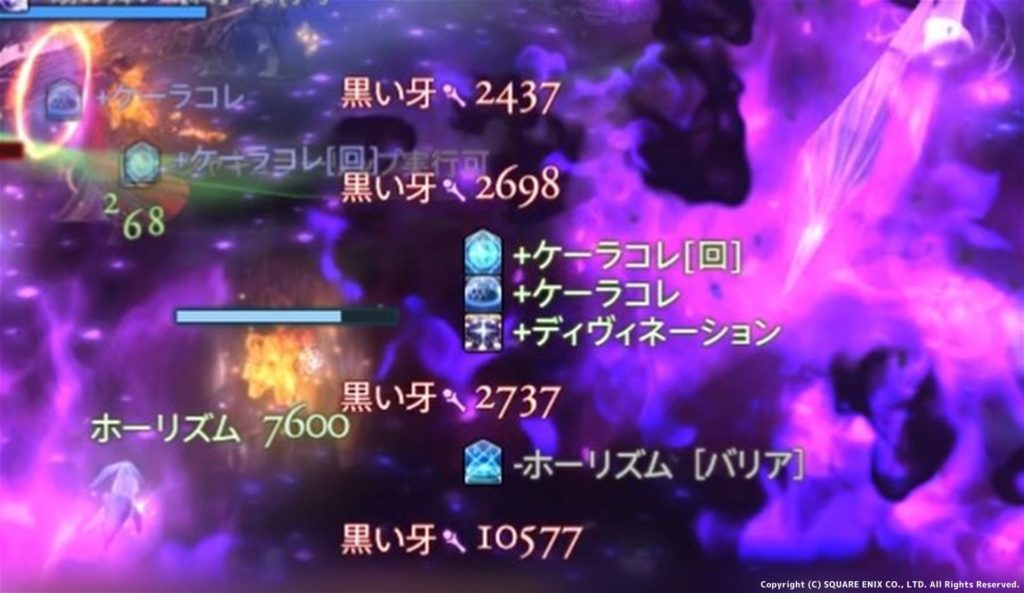
動画で確認
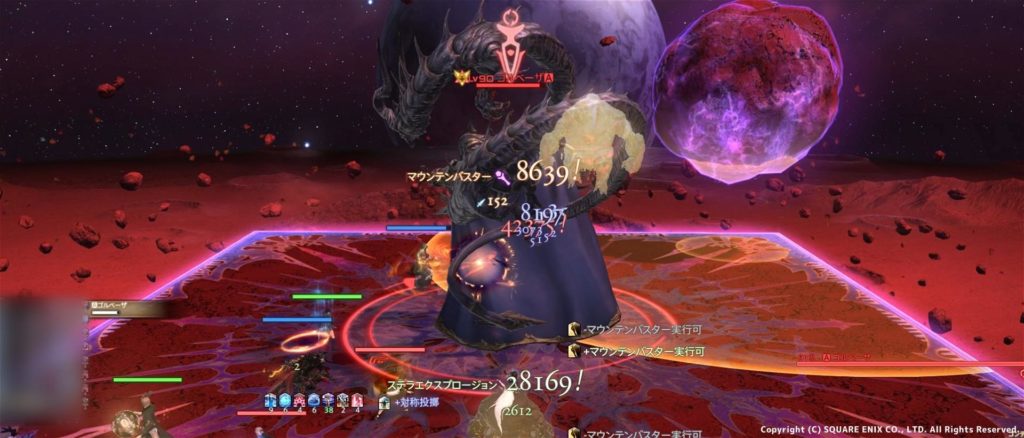
暗黒剣アジュダヤ
特になし?
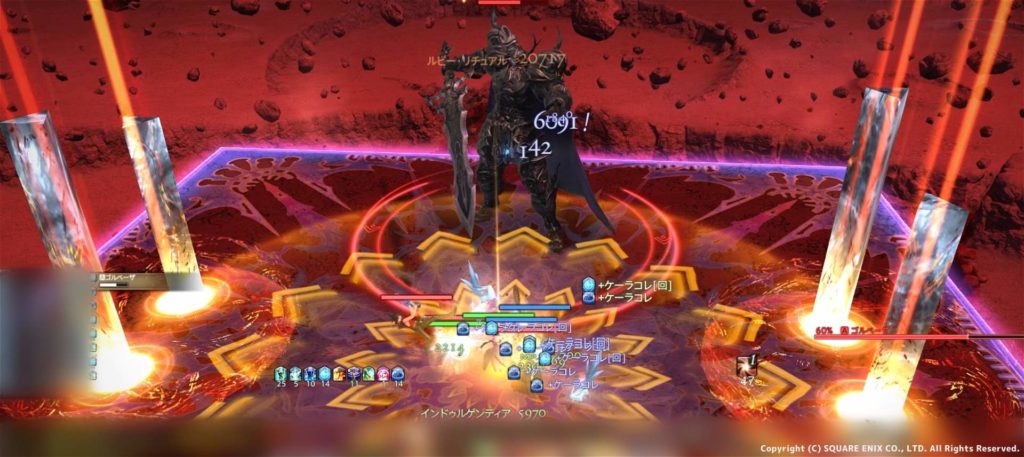
弓月黒竜剣
- ボス正面に180度扇範囲
- ボスに円範囲
- 5名に追従円範囲
順番
- ボス正面に180度円範囲
- 5名に円範囲マーカー付与
- ボスを中心に円範囲
- 5名に円範囲着弾
180度扇範囲実行と同時に5名へ円範囲マーカーが付きますが、まずはボス中心円範囲を回避することを優先すると楽
動画で確認
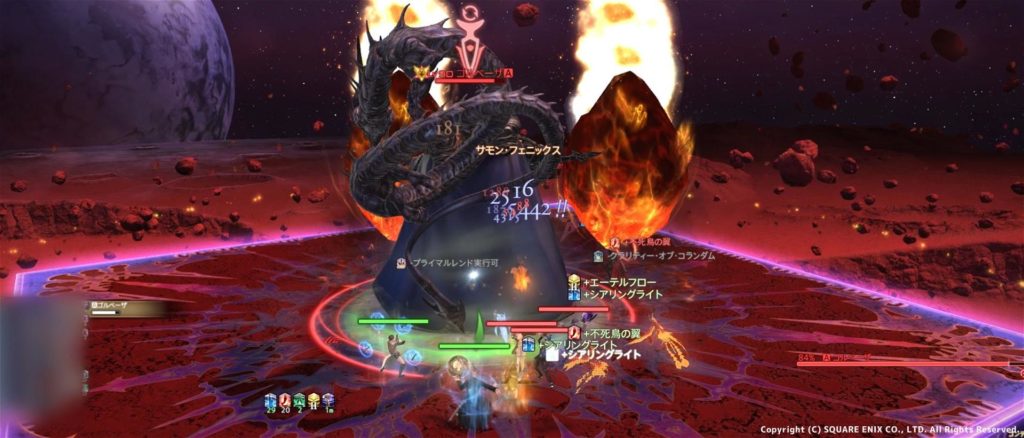
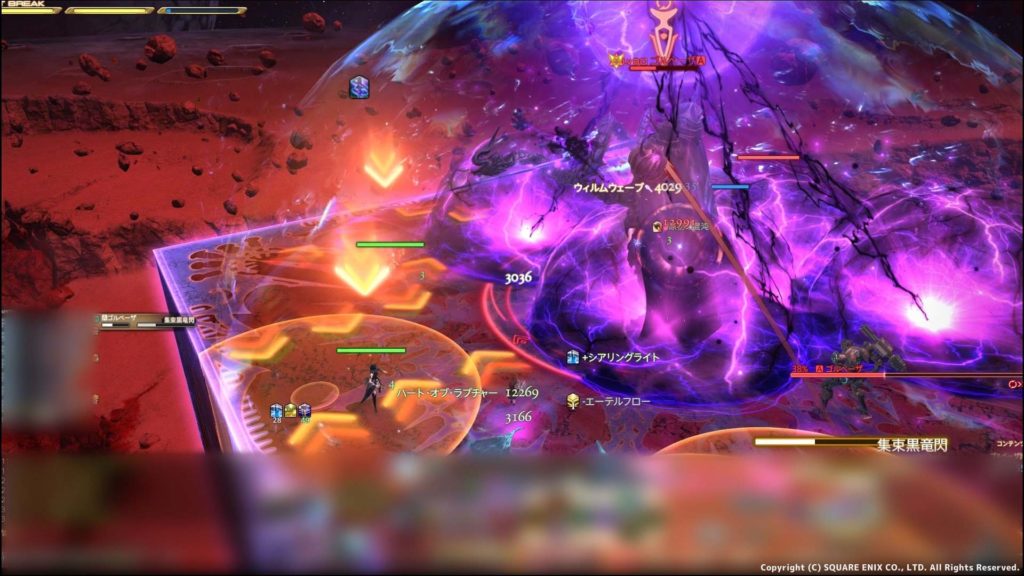
柱とメテオ
- ヒーラー1名に吹き飛ばしマーカー付与
- 塔に方向に吹き飛ばされる
- 1名に直線範囲線付与
- 距離減衰メテオを離れて回避
順番
- ヒーラー1名に吹き飛ばしマーカーが付与されるので対象のヒーラーはフィールド中央へ移動
- 必要人数に分かれて塔方向へ吹き飛ばされる
- 1名に中央の竜から直線範囲の線が付くので巻き込まない方向へ捨てる
- メテオからの距離減衰を反対側に移動して回避
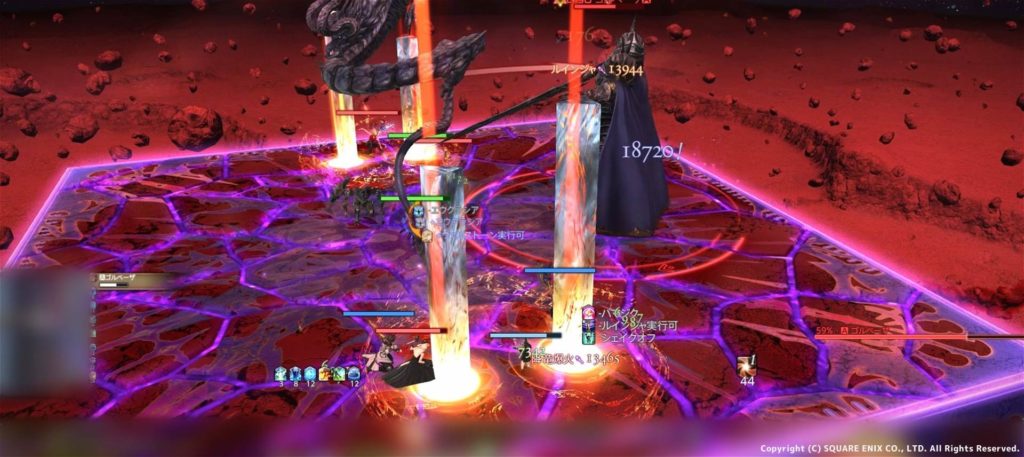
動画で確認
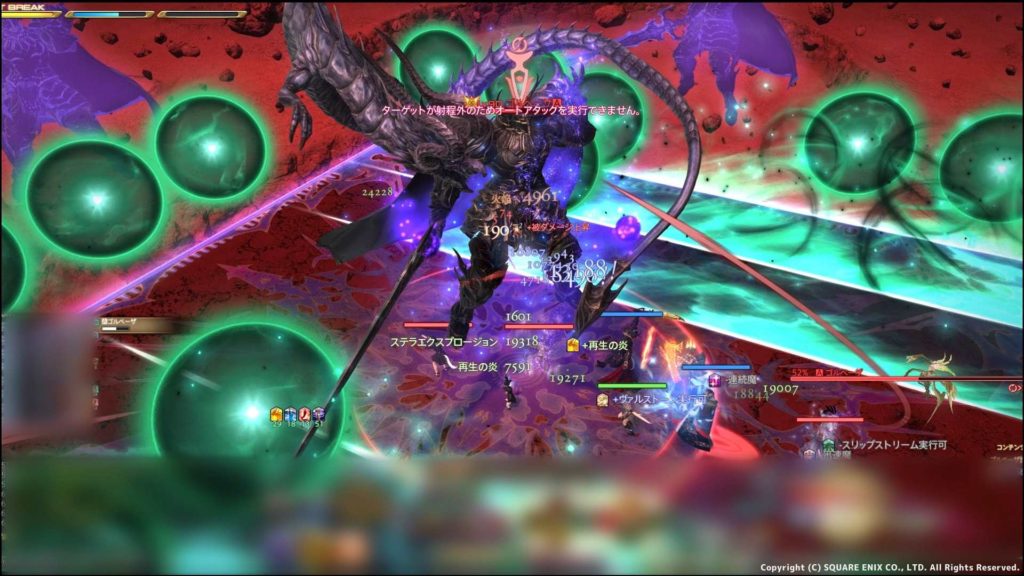
ウィンドスフィア
- ボスの分身4体が外周へ移動した順で配置される玉から直線範囲攻撃
やってみた感じでは右回り左回りのどちらかになる模様
玉が無い部分が安置になり、2辺セットで見て安置に移動すると楽
例えば
①②③④の順で分身が外周に移動したらとしたら
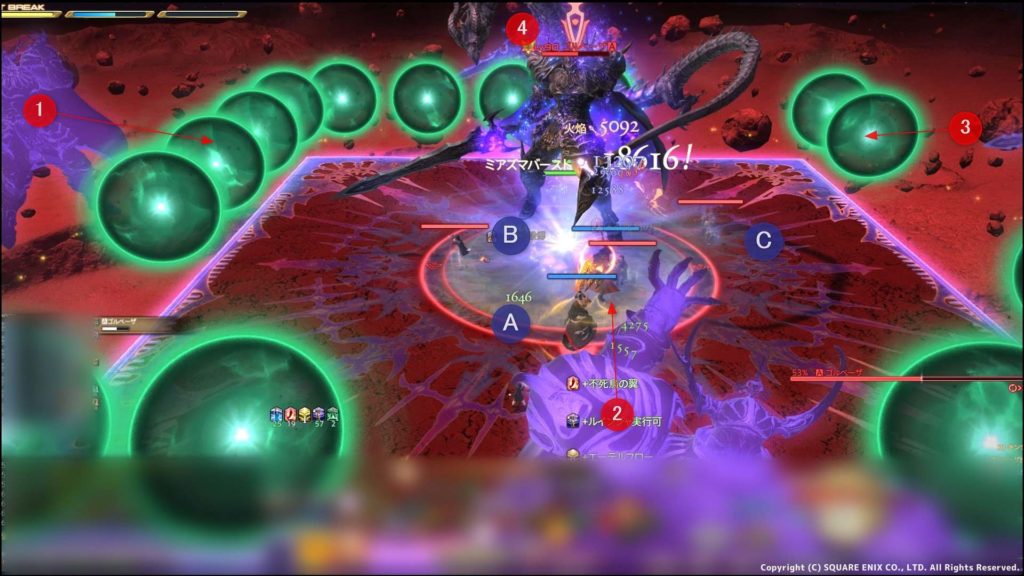
- ①と②が回避できるⒶに移動
- ①の範囲が通過
- ②と③を回避できるⒷに移動
- ②の範囲が通過
- ③と④を回避できる©に移動
- ③が過ぎても動かなければ④も回避
動画で確認
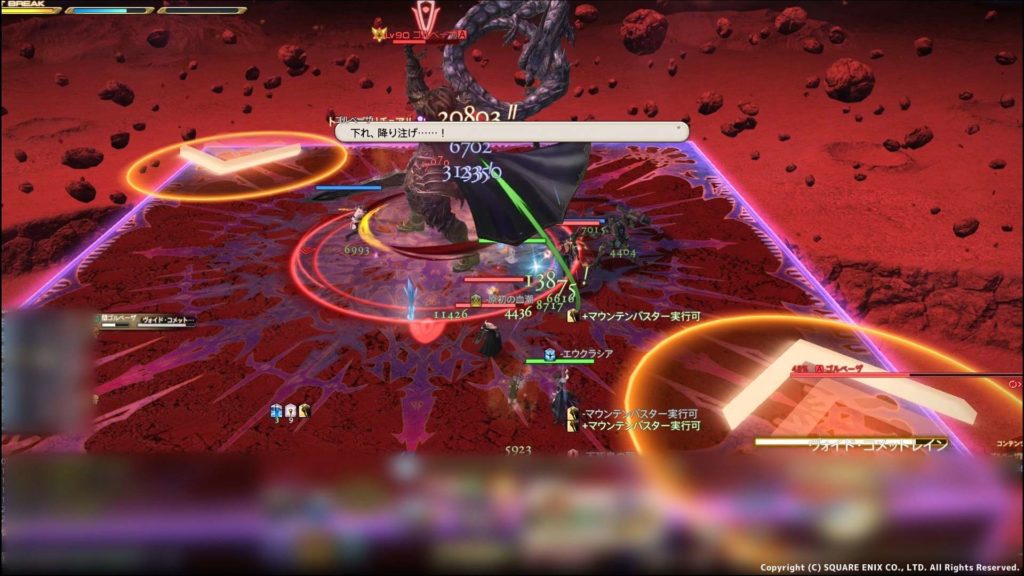
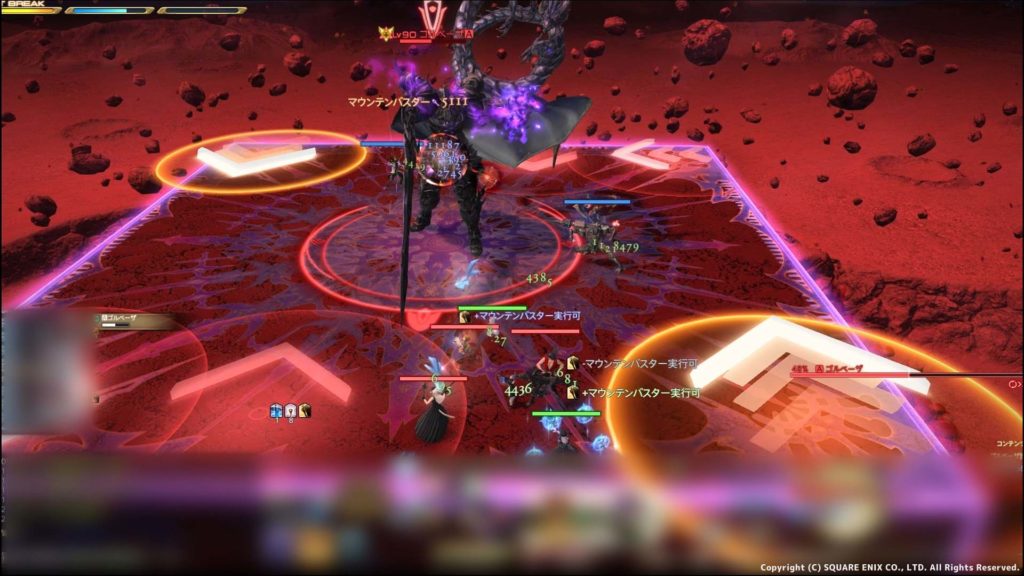
ヴォイド・コメットレイン
- 表示されるマーカーの順に連続小隕石
1つ目のマーカー横で待機 ⇒ 1つ目に着弾後1つ目の範囲へ移動
動画で確認
後半 黒竜剣アジュダヤ
後半に実行される暗黒剣アジュダヤは後はギミックが以下のように少し変わります
ディレイスパーク
- タイミングをずらし4名ずつ2回円範囲
- 半々で分かれての直線頭割り
(前半にあったボスからの円範囲は無)
デバフが付き2回受けることはできないので前後か左右に頭割りを分かれて受けるのが安全かもしれません

動画で確認
[balloon_left img=”https://www.blogbear.xyz/wp-content/uploads/2017/08/ffxiv_20170305_181800.jpg” caption=”熊コメ”]極へはめったに行かないので語句の簡易解説はありません(;’∀’)[/balloon_left]
コメント