
パッチ6.4実装の万魔殿パンデモニウム:天獄編ノーマル3層の簡易攻略解説です。
この簡易解説は数回行っただけの床ペロ勢が作っています、参考程度にしてください。
もちろんネタバレは注意!!!
もちろんネタバレは注意!!!
エウノミアー
- 全体攻撃
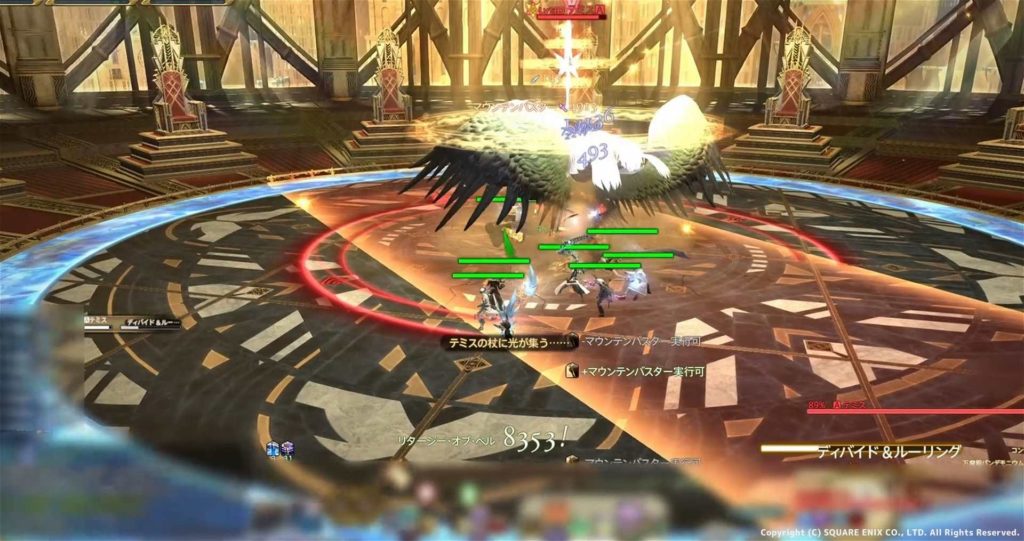
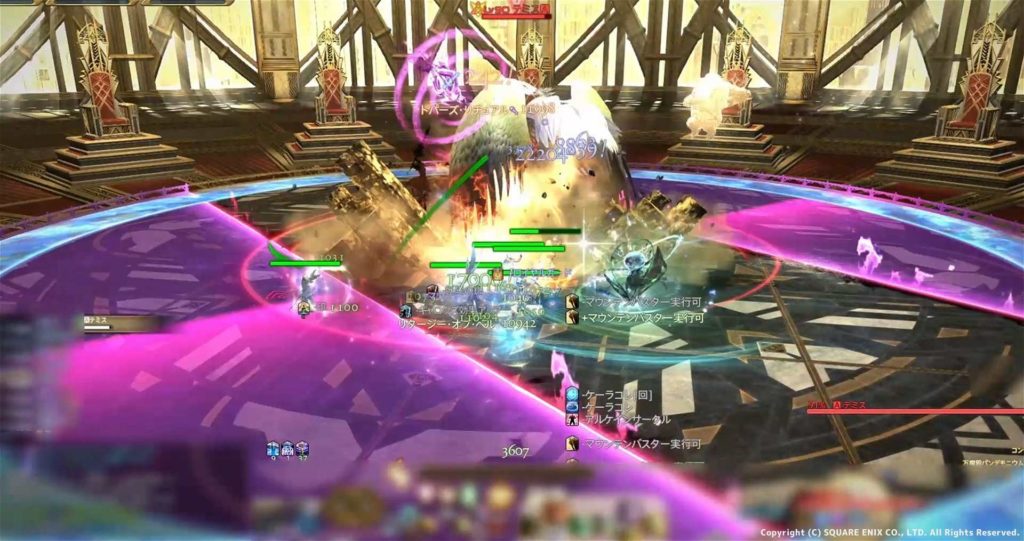
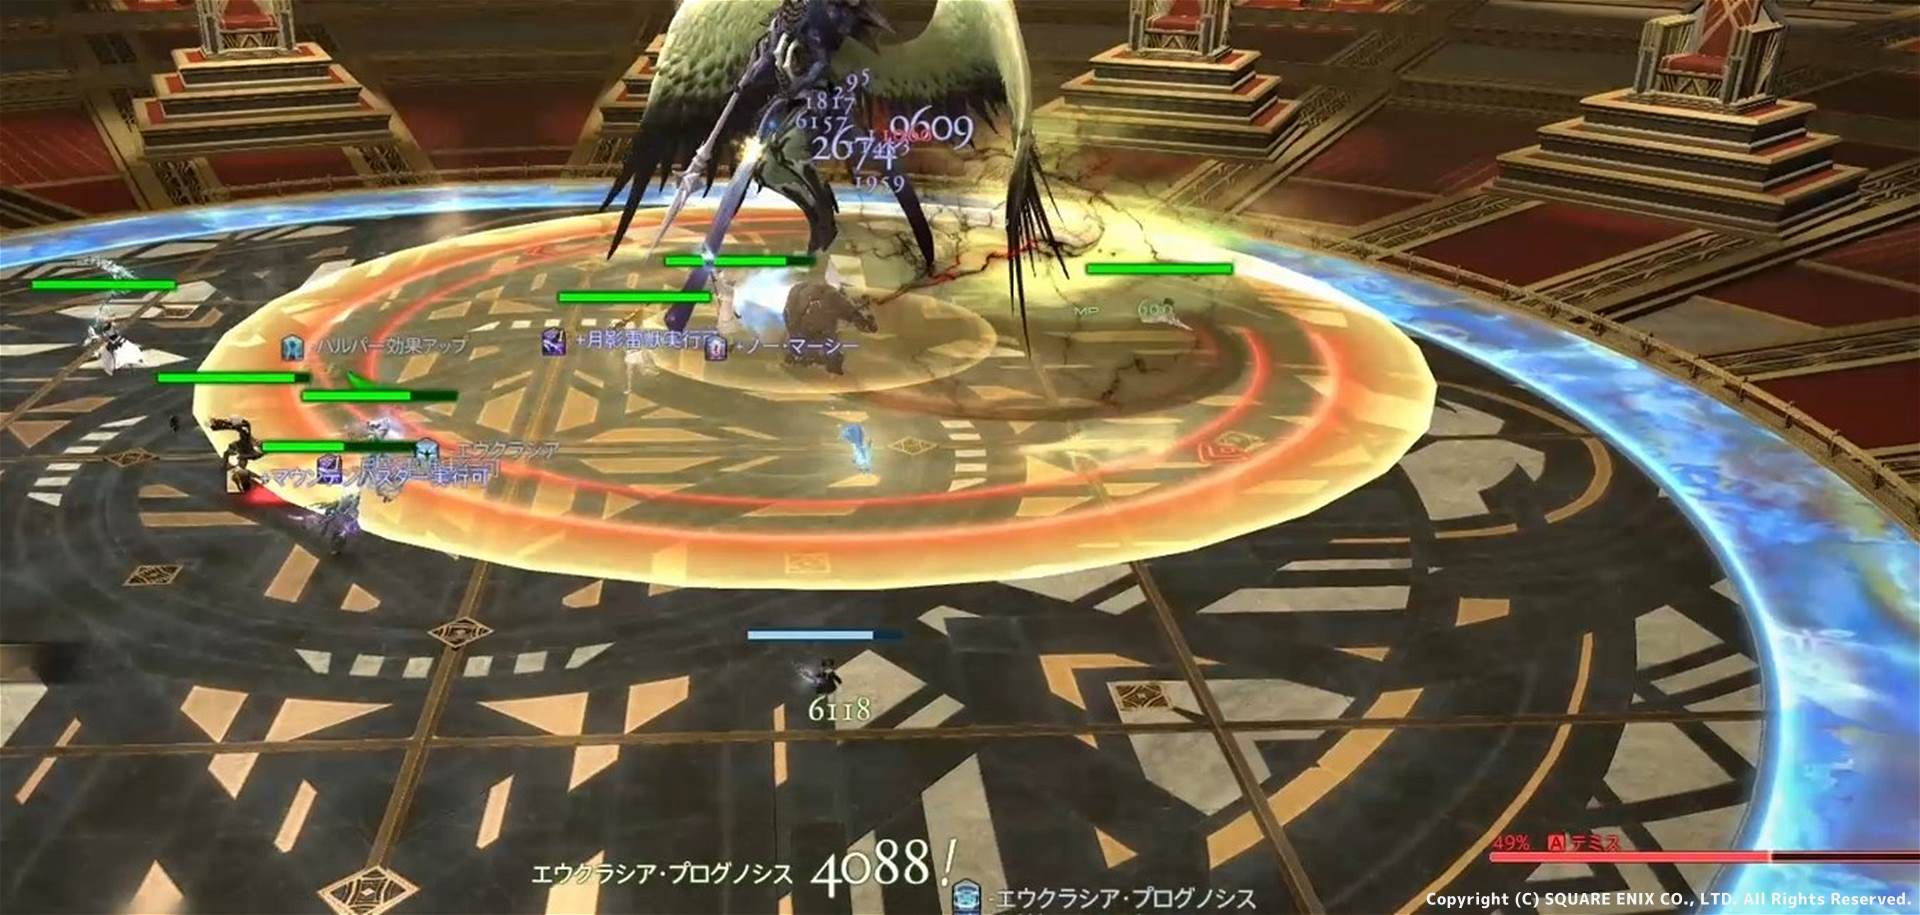
ディバイド&ルーリング
ボスの持っている杖(光・闇)によって範囲が変化
光は広がる闇は狭まると覚えておくとこの後が楽
光の杖パターン
- 光の杖:ボス前後に直線範囲⇒直線攻撃が拡大
- 外周寄りに回避
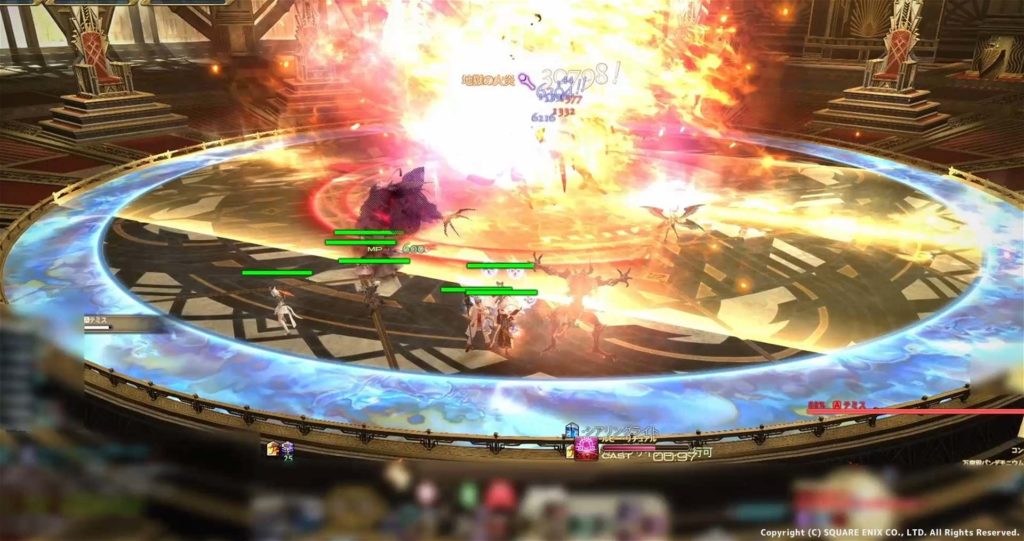
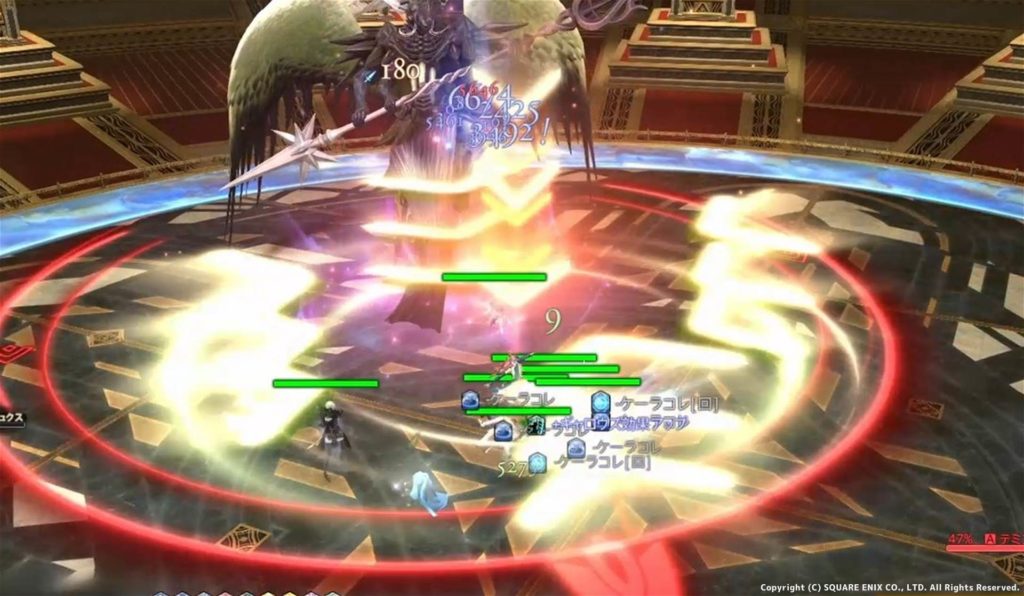
闇の杖パターン
- 闇の杖:ボス前後に直線範囲⇒直線範囲以外の部分に範囲
- 初めの直線範囲が着弾後その場所へ移動
動画で見てみる
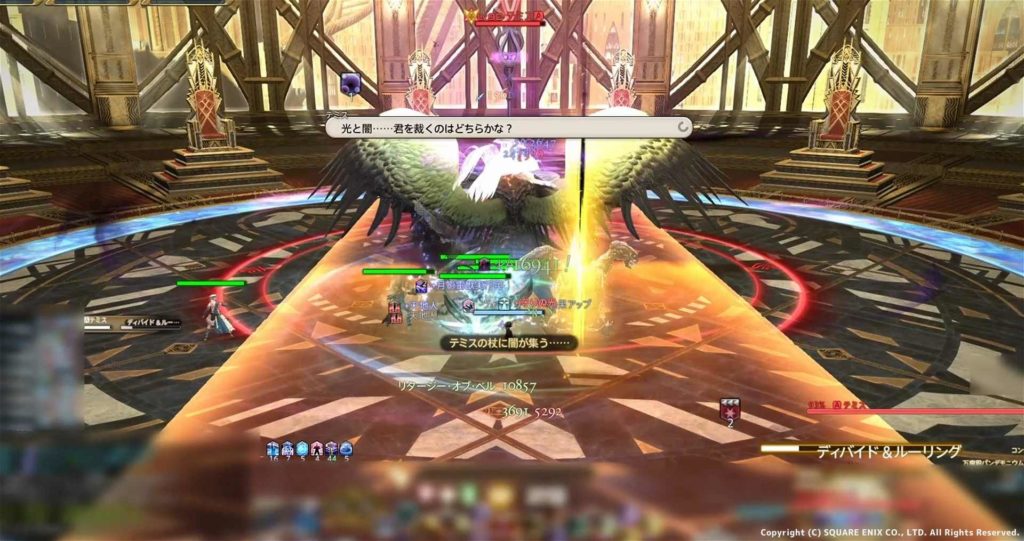
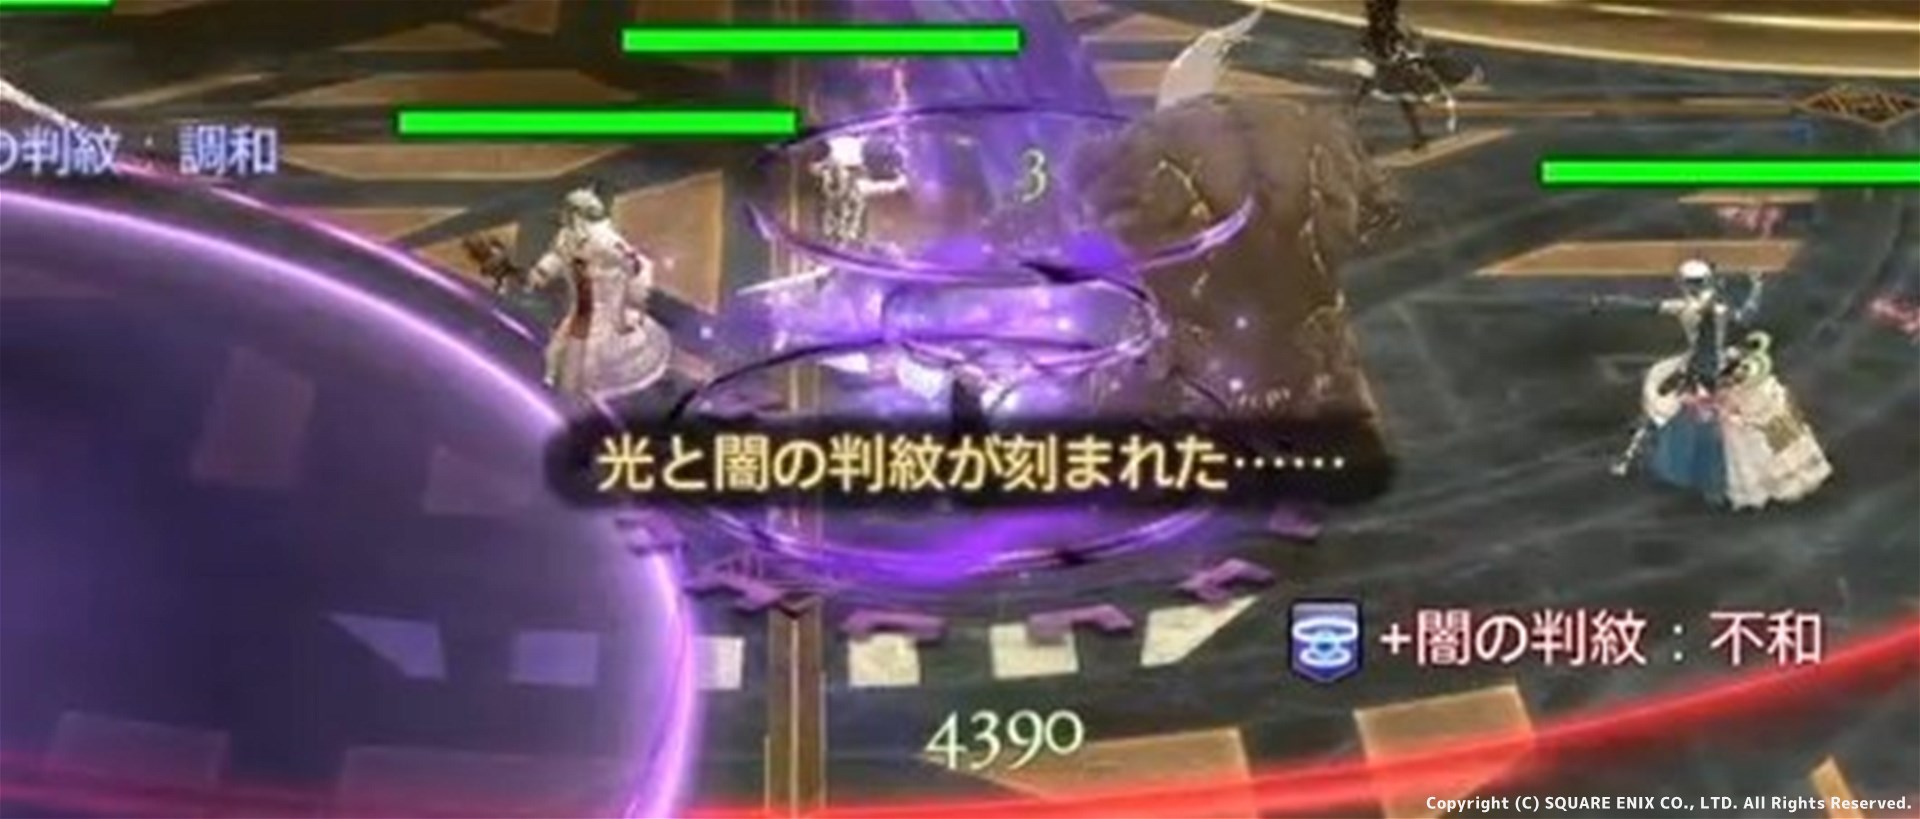
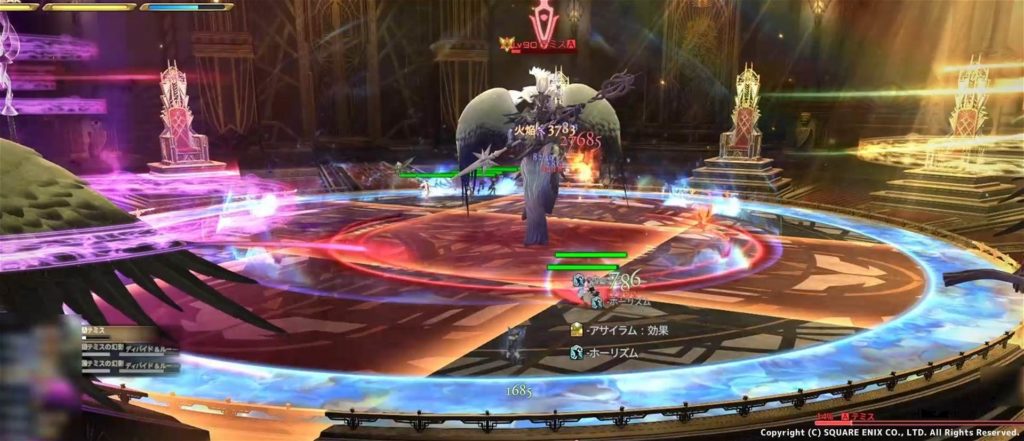
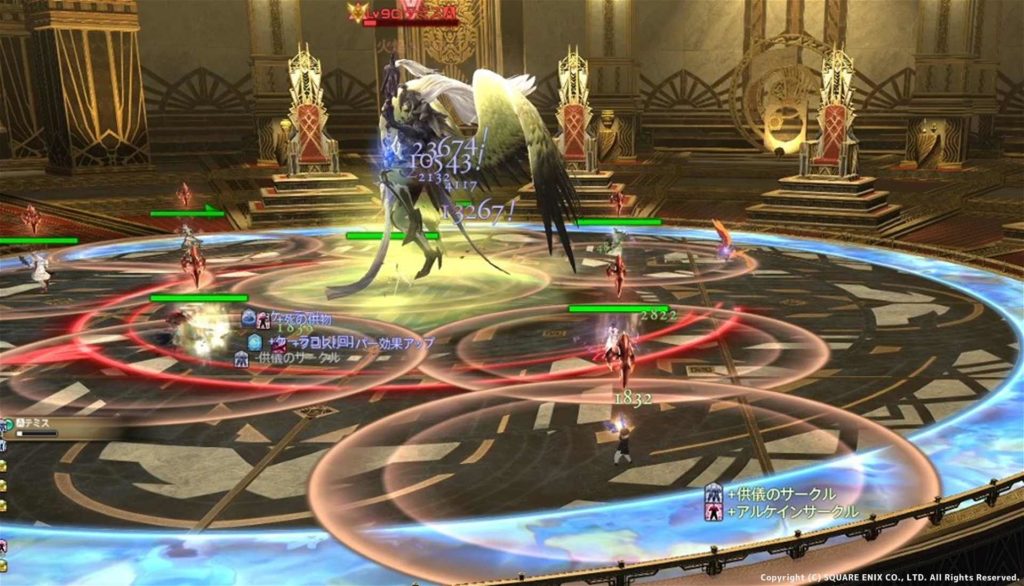
不和の判紋
- フィールドに光の判紋と不和の判紋が配置
- プレーヤーに光の判紋と不和の判紋のどちらかが付くので自身と逆の判紋に入る
判紋から出てしまうとダメージが入るので出ないようにしながらギミックを回避(下記のディーネや範囲吹き飛ばしなど)

ディーネ
- 全員に2回円範囲が連続して付与
- 1回目から少しずらすくらいで2回目の範囲を受けると楽
不和の判紋とディーネを動画で見てみる
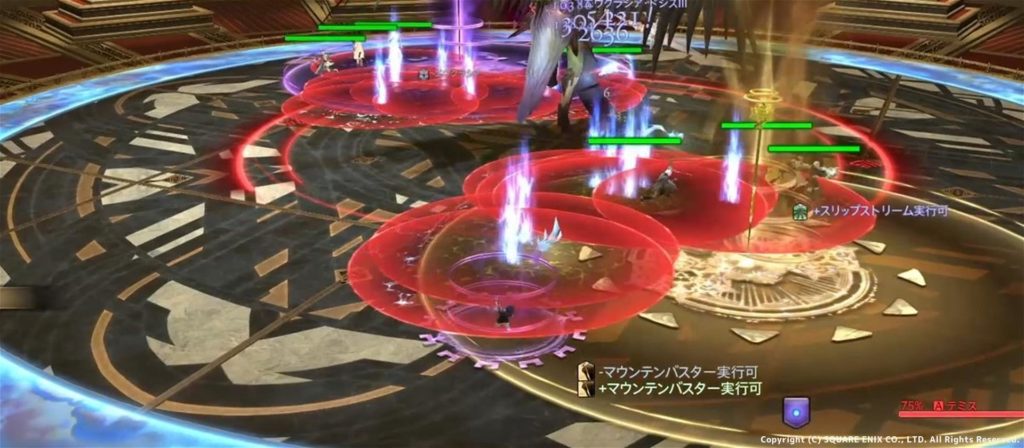
ディスミサル&ルーリング
ボスの持っている杖(光・闇)によって吹き飛ばし後の範囲が変化
光の杖パターン
- ボスから吹き飛ばし ⇒ ボスから円範囲
- 吹き飛ばされたらその場で待機

闇の杖パターン
- ボスから吹き飛ばし ⇒ ボスからドーナツ範囲
- 吹き飛ばされたらすぐにボスの足元へ駆け込む
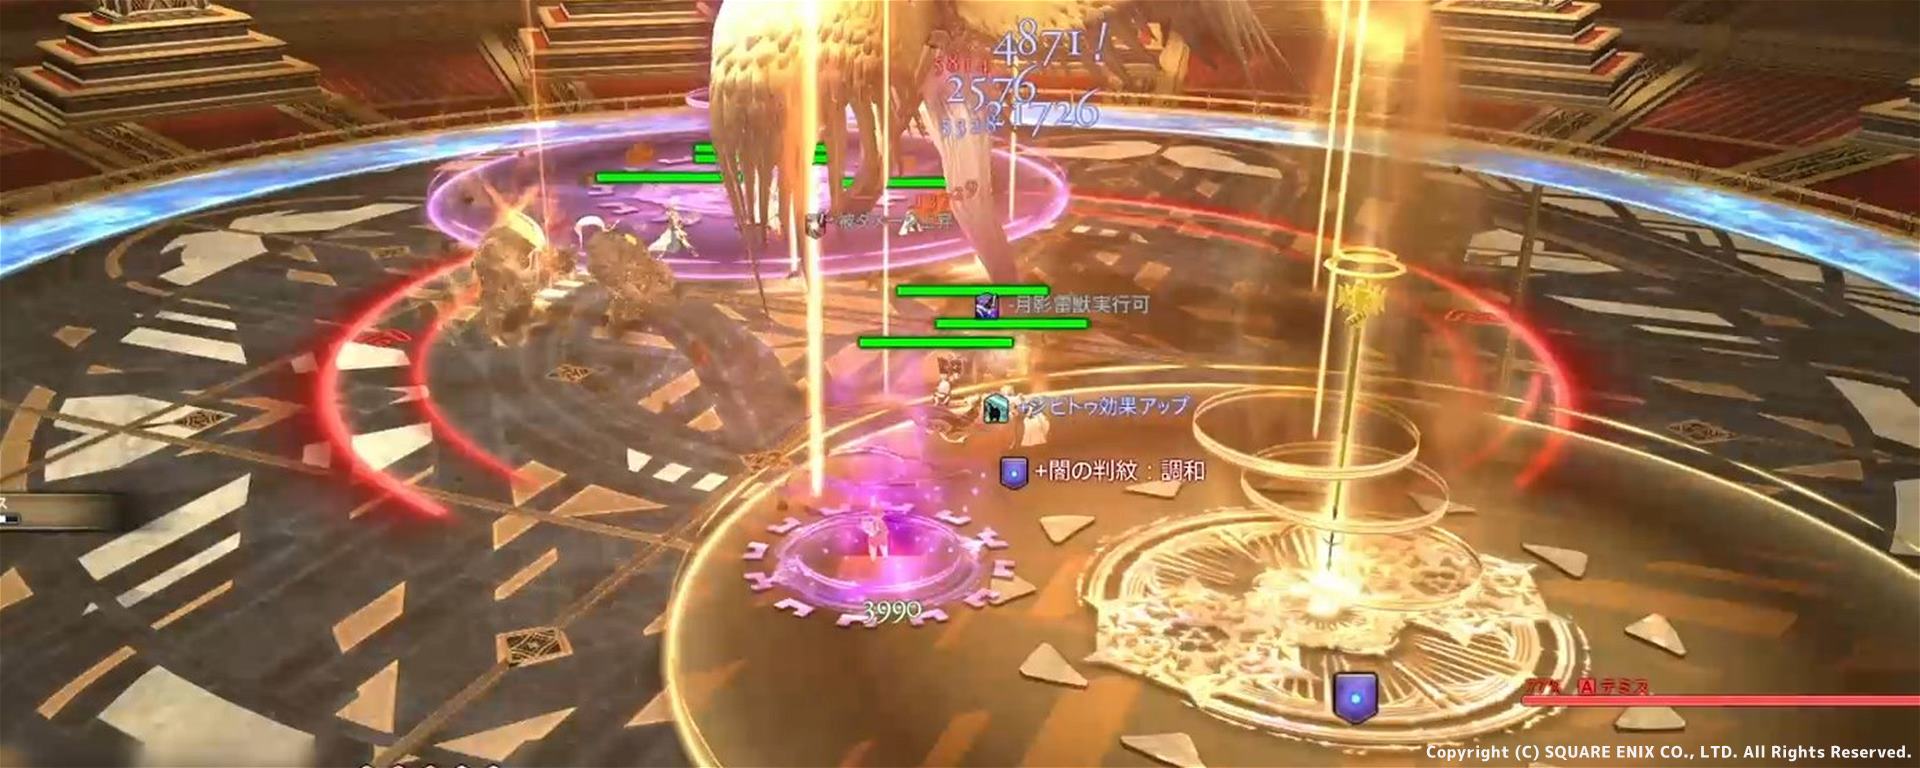
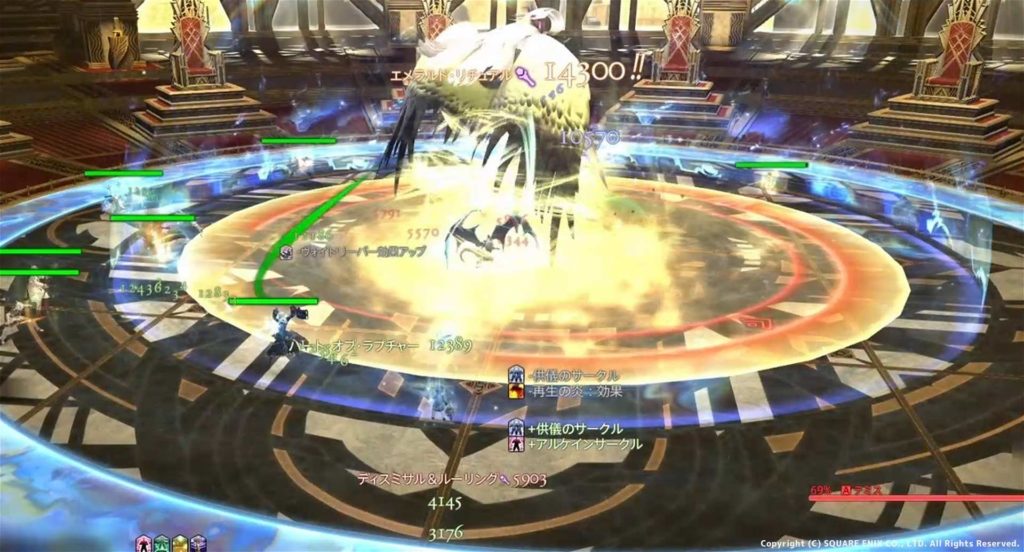
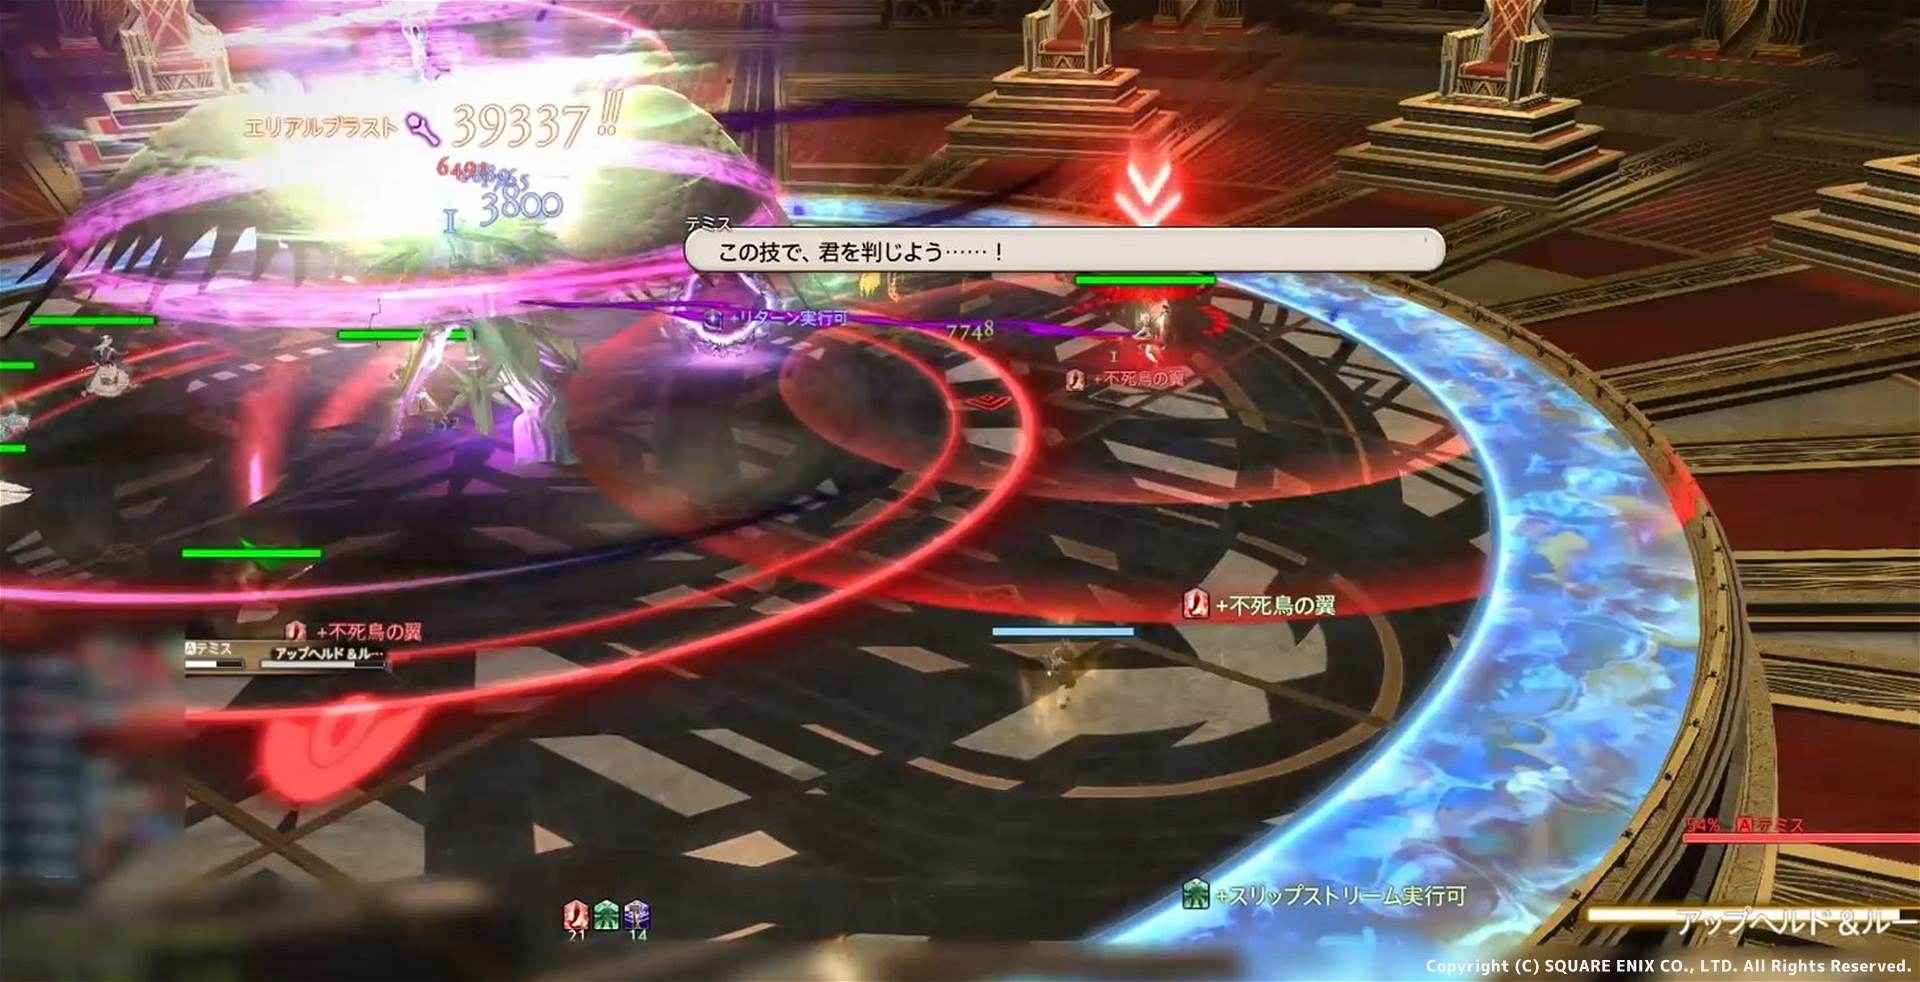
アップヘルド&ルーリング
ボスの持っている杖(光・闇)によって攻撃と範囲が変化
闇の杖パターン
- ボスとSTが線でつながれる
- 広いタンク受け範囲後ドーナツ範囲
- 離れて着弾後すぐにSTのもとへ移動

光の杖パターン
- ボスとタンク以外が線でつながれる
- つながれた対象に頭割り
- 頭割りを受けたらすぐに大きく離れる
動画で見てみる
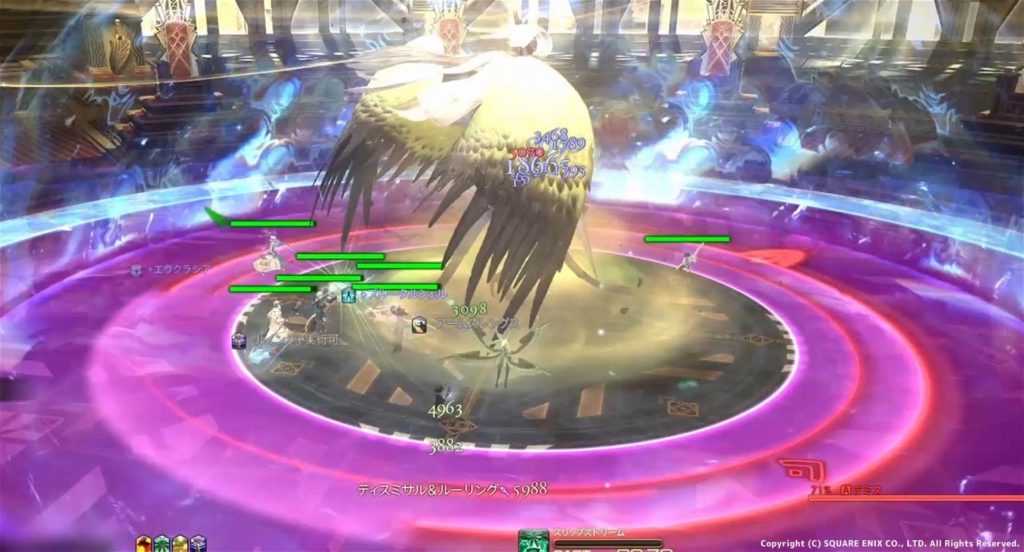
ステュクス
- 連続頭割り
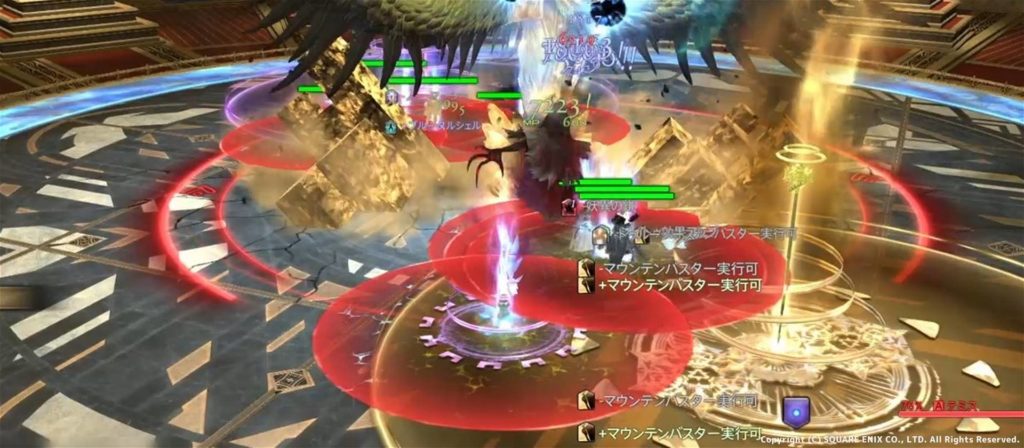
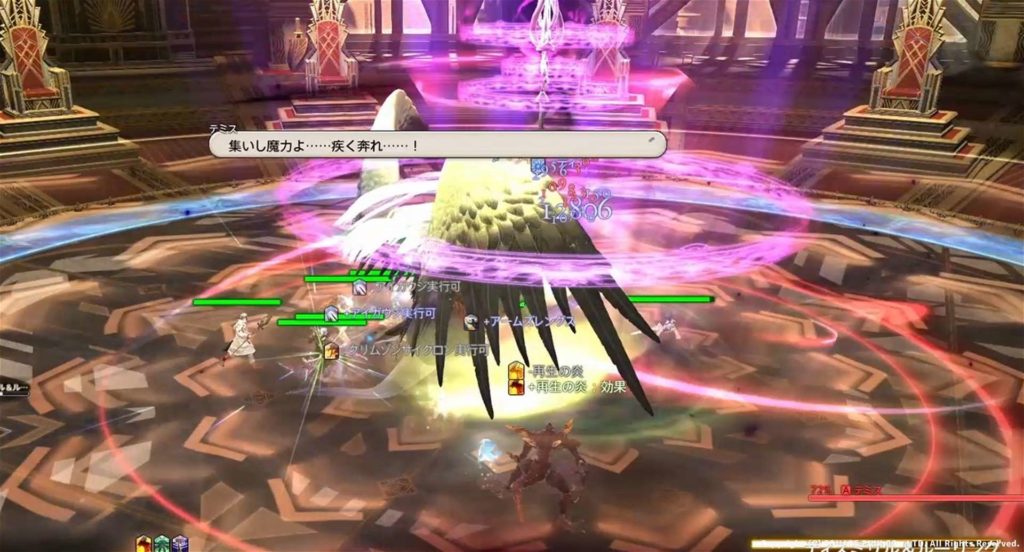
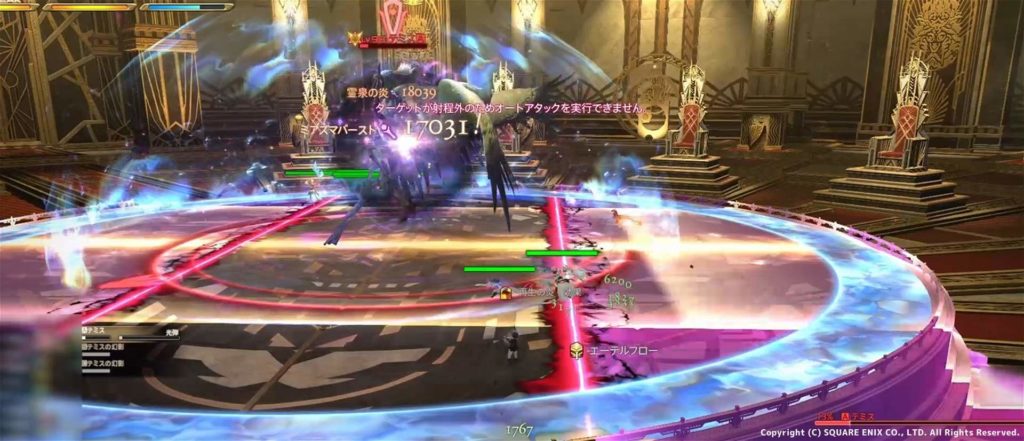
戒律の幻奏
- 外周に出現する幻影から「ディバイド&ルーリング」の攻撃が同時に実行
- 闇の杖を持っている幻影の近くで十字を回避
- 闇の杖を持っている幻影の十字攻撃の範囲へ移動
動画で見てみる
光弾
- 全員に追従円範囲
- 重ねないよう散開

コメント