
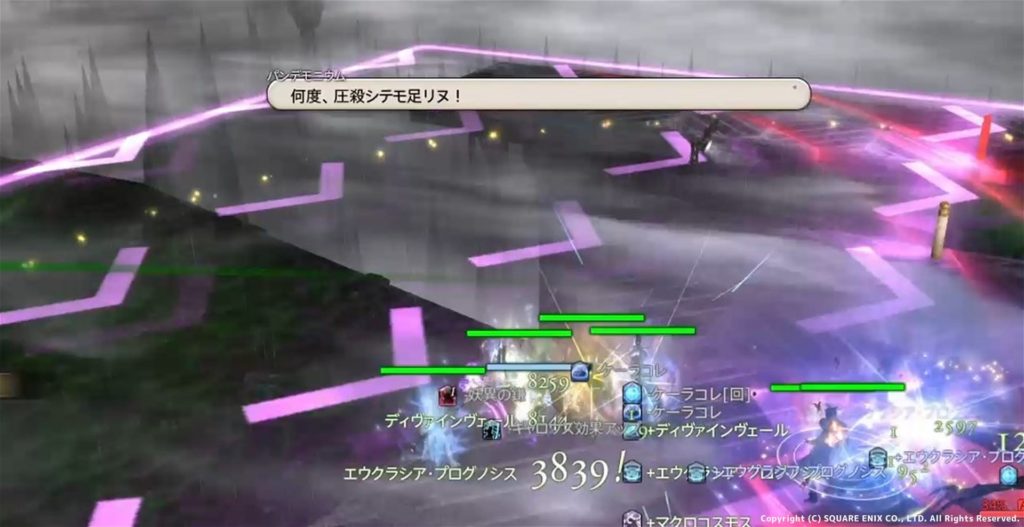
パッチ6.4実装の万魔殿パンデモニウム:天獄編ノーマル2層簡易攻略解説です。
この簡易解説は数回行っただけの床ペロ勢が作っています、参考程度にしてください。
もちろんネタバレは注意!!!
もちろんネタバレは注意!!!
スピットウェブ
- 3名に大き目の円範囲が付き近づくと矢印線でつながれ
- 近いと糸でつながれてしまい行動不能になるので離れる(つながれてしまった場合は誰かが線を横切ると切れる)
- (対象外の人や外周にある柱にも矢印はつくので他のメンバーは固まり気味に柱方向へ離れると対象者が楽)

動画で見てみる
パンデモニックピラー
複数個所に塔が出現するので1か所、一人以上入り受ける
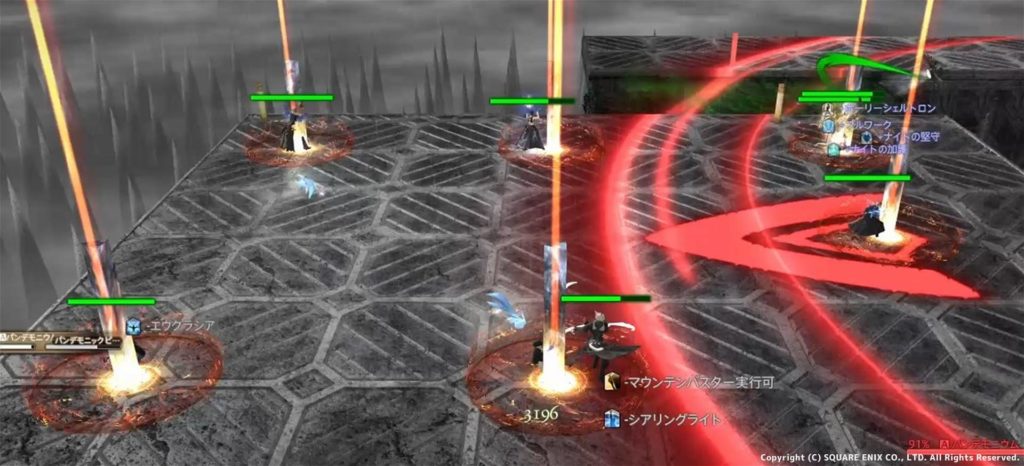
受けた後鎖の場合は円範囲、イカ?の場合はドーナツ範囲
戦闘開始時は 鎖 ⇒ イカ のパターン
鎖パターン
イカ?パターン

パンデモニックピラーを動画で見てみる
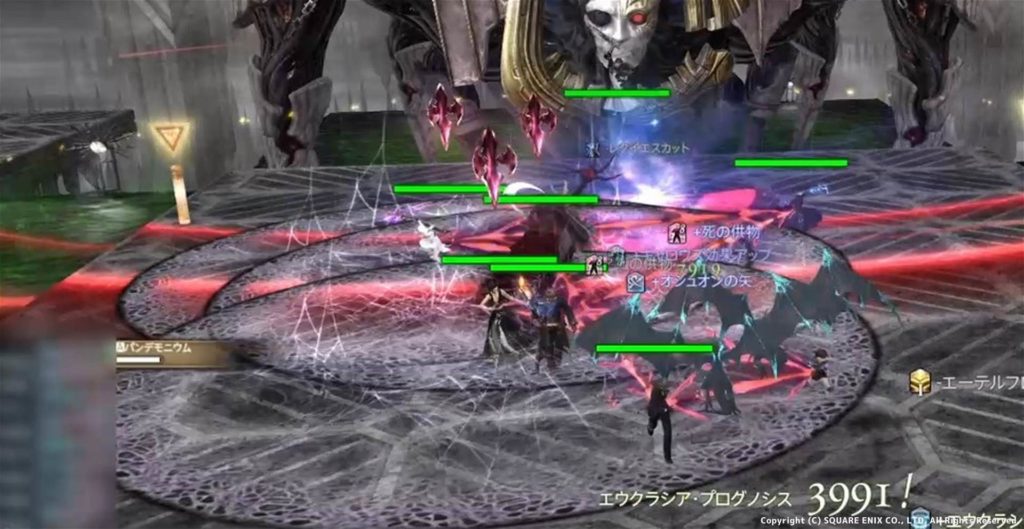
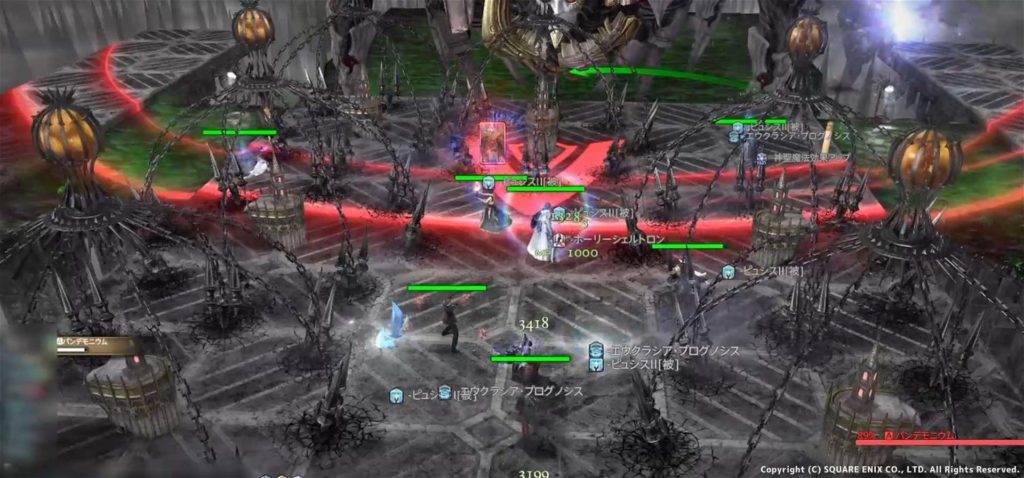
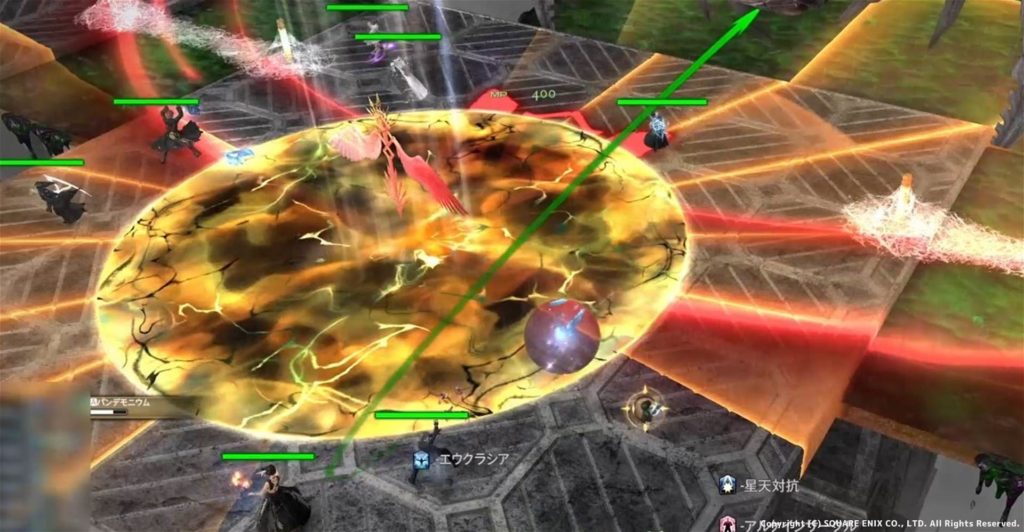
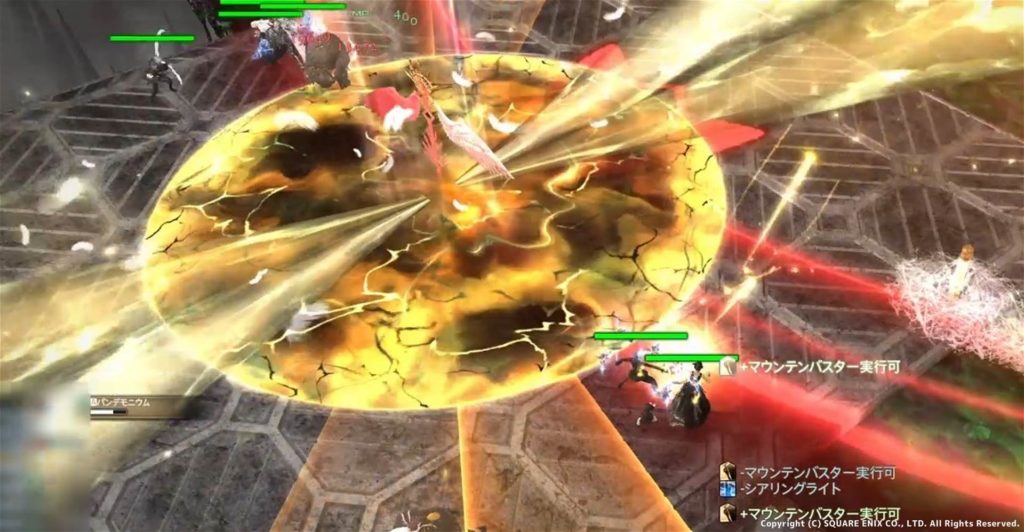
パンデモニックメルトン
- 直背頭割り
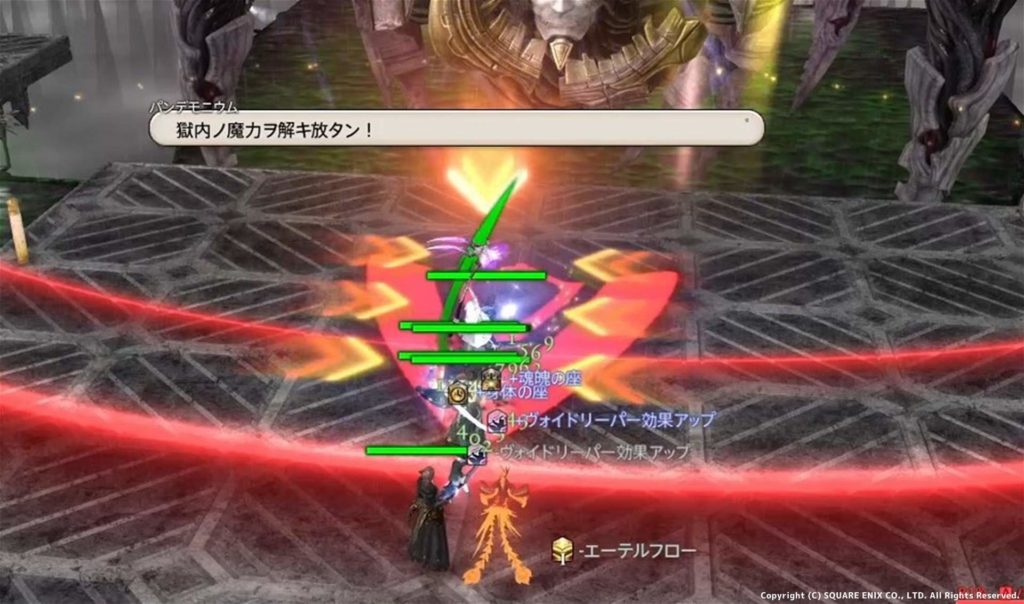
ソウルグラスプ
- タンク2名頭り
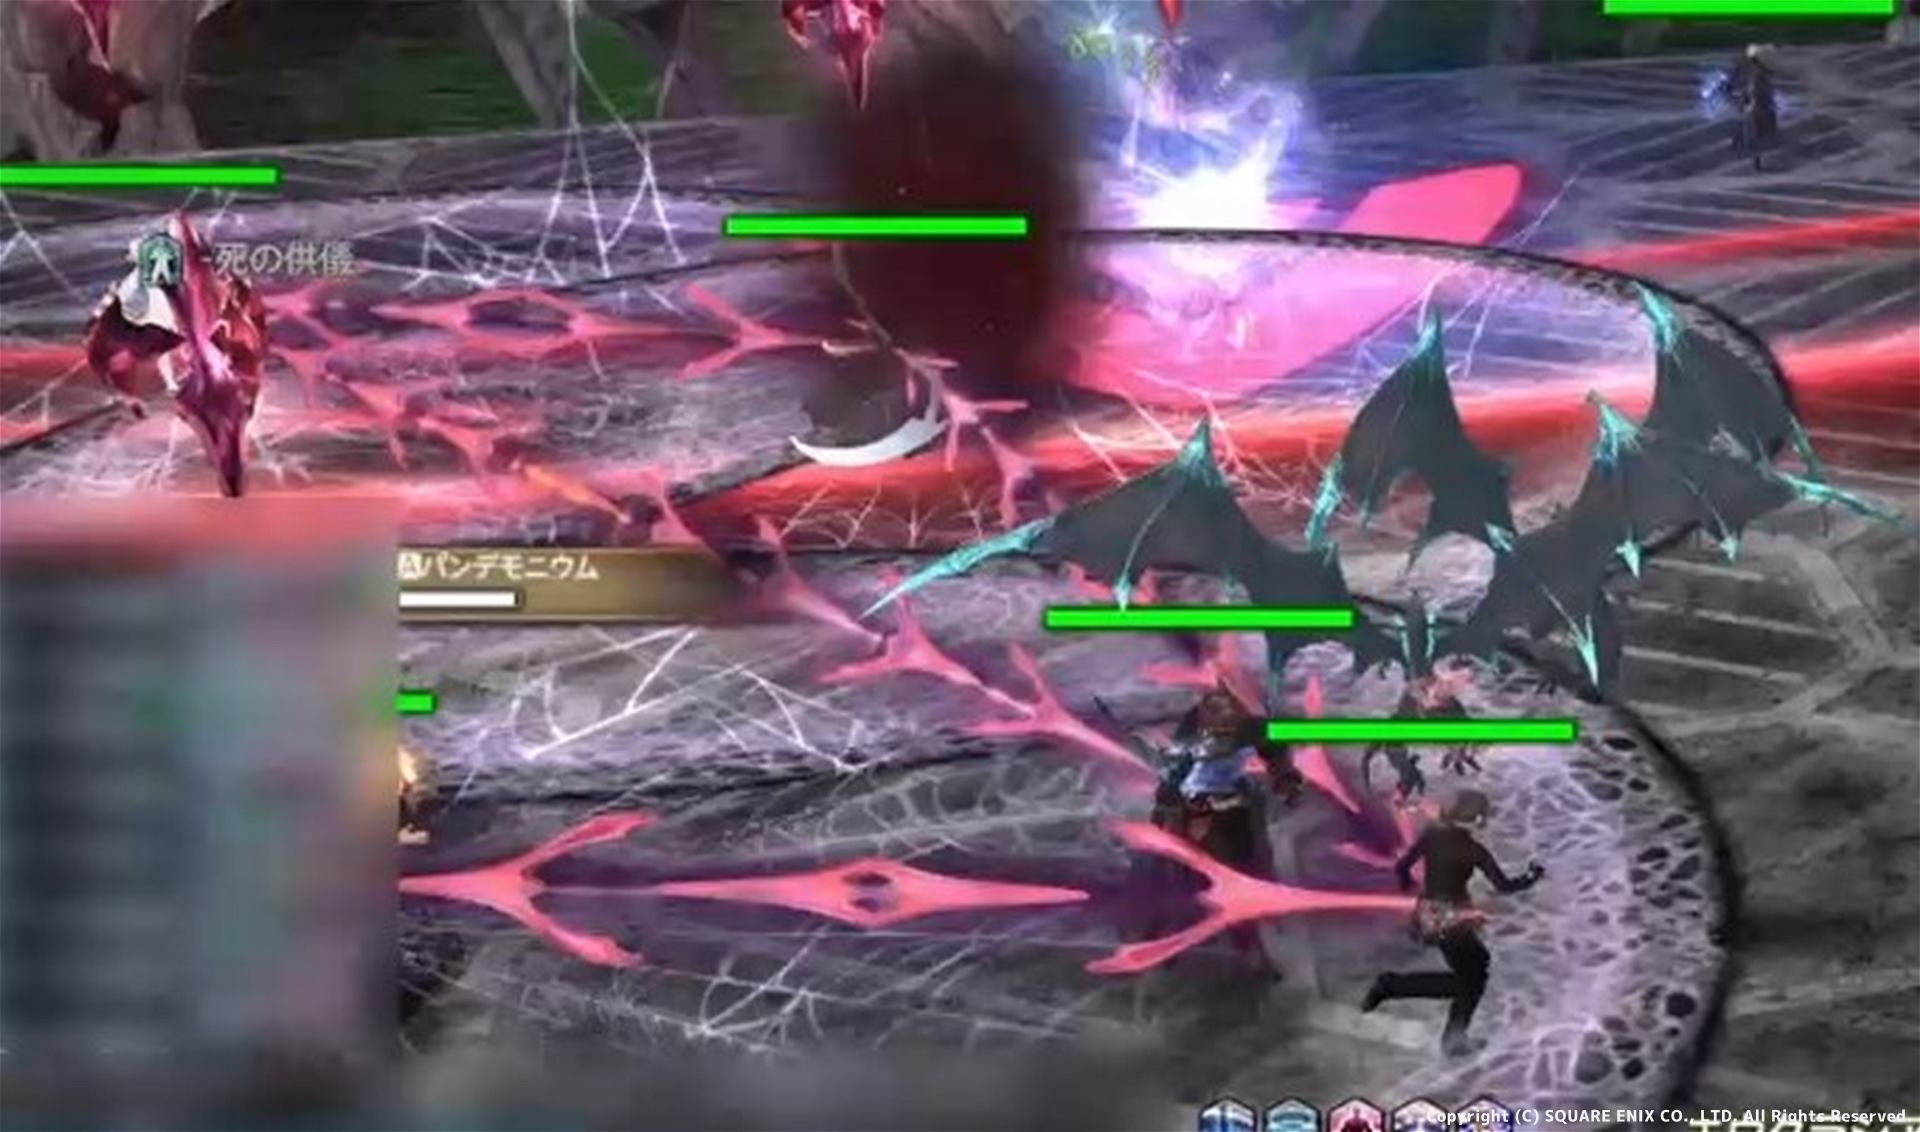
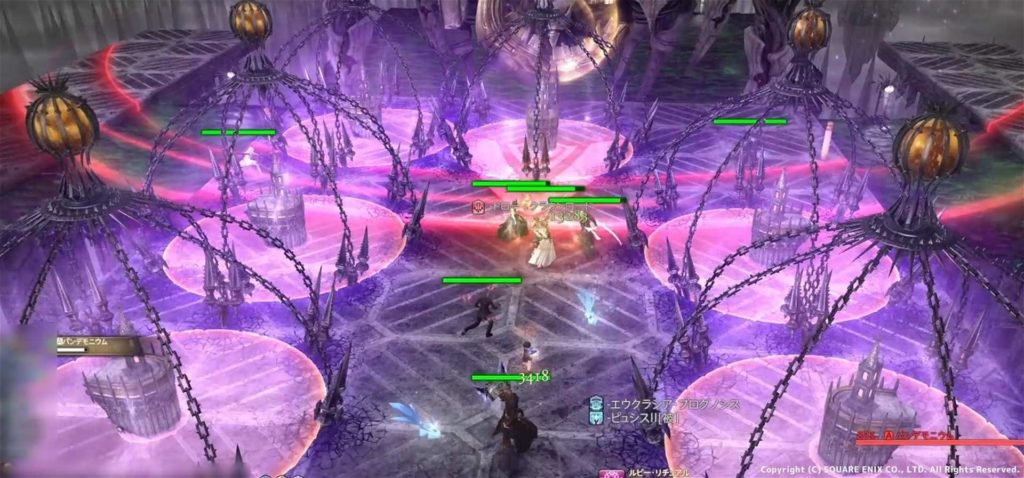
グランドウェブ
- 柱に大き目の範囲とランダムで3名に小さめの範囲
- 固まっておくと小さめの範囲を固定できるので楽かもしれません
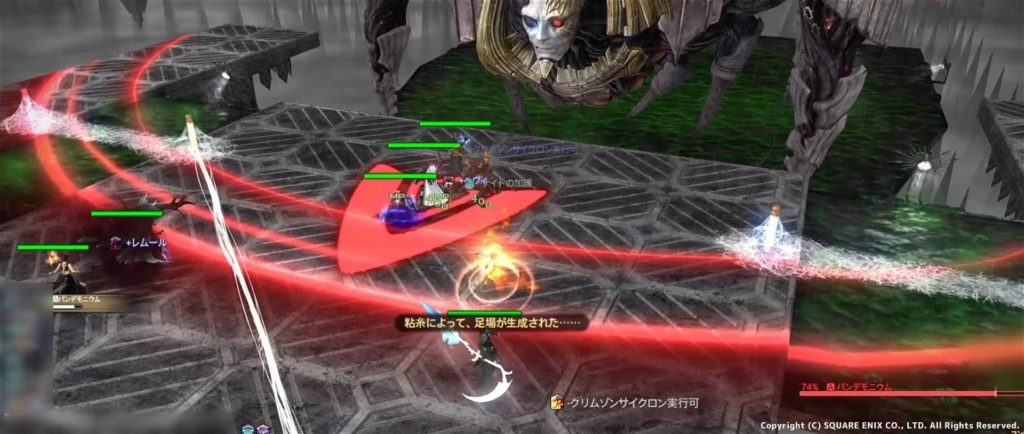
- 柱に範囲が当たると隣の足場への橋が形成
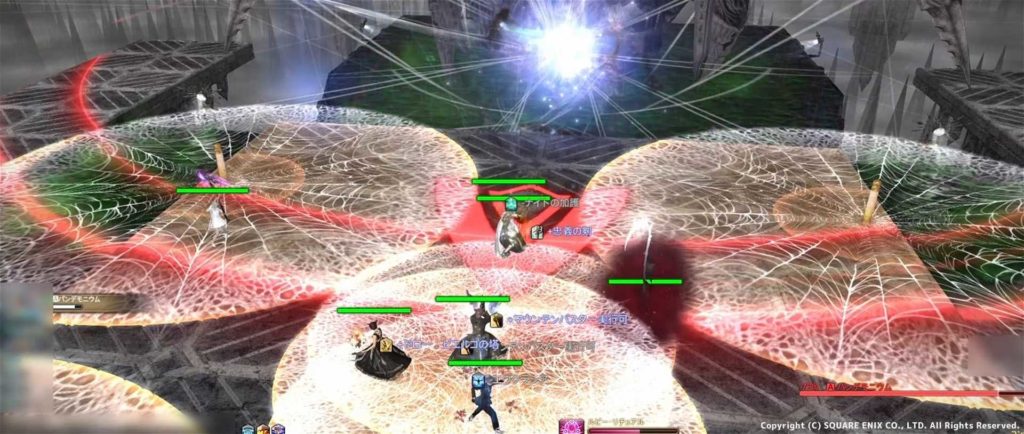
グランドウェブを動画で見てみる
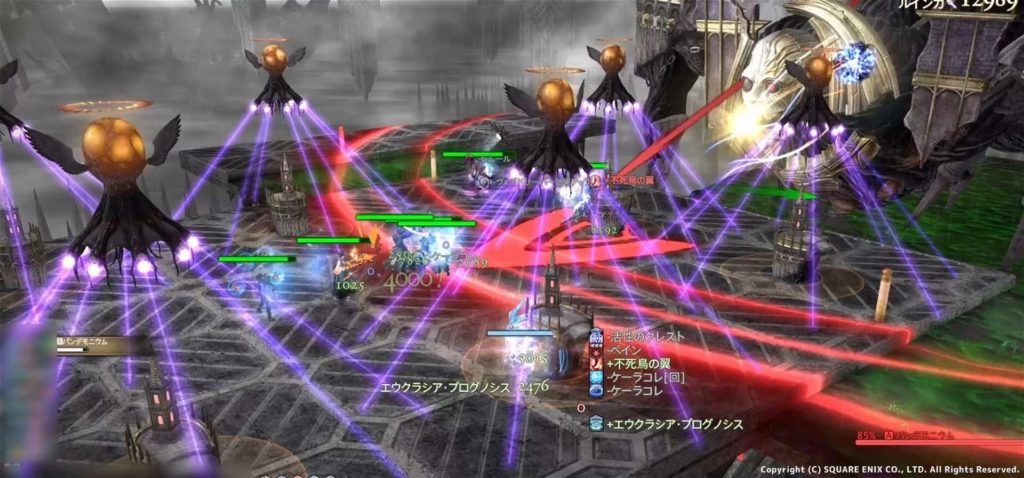
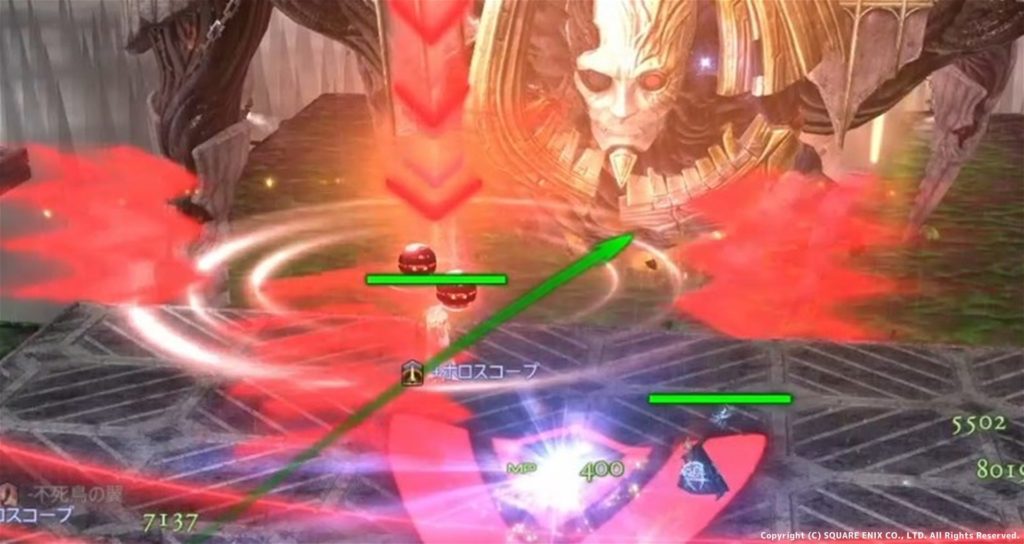
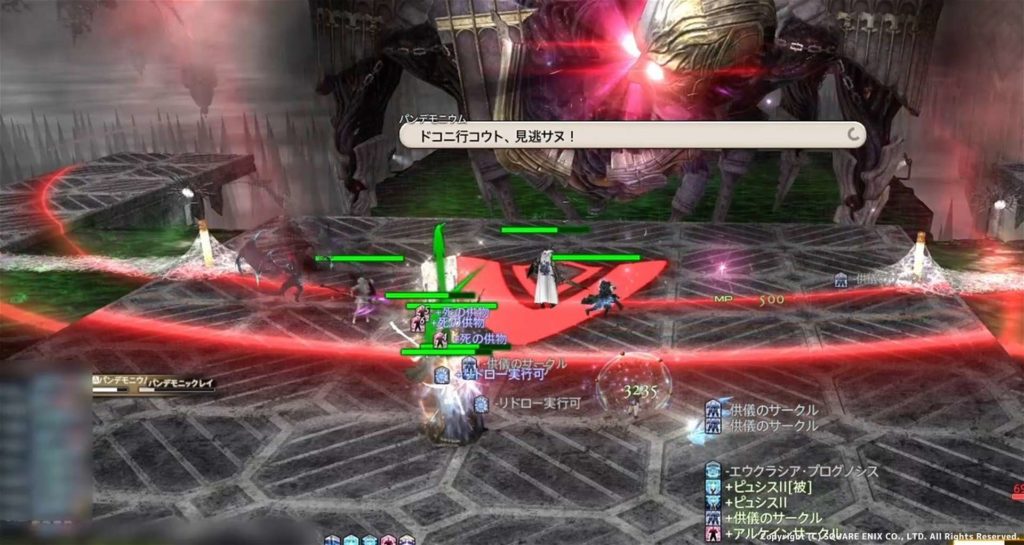
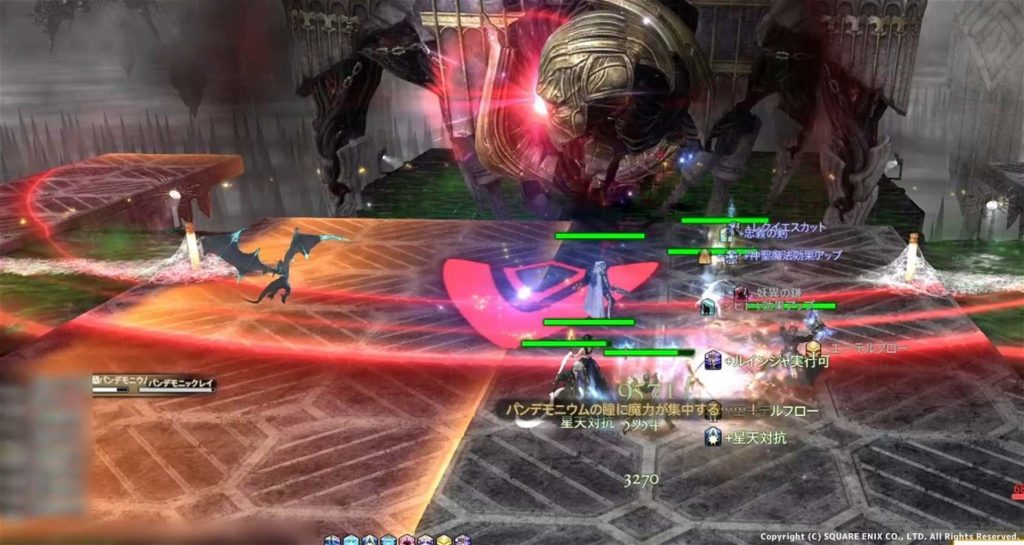
パンデモニックレイ
- 首が伸びて顔が向いた方向に反面範囲攻撃
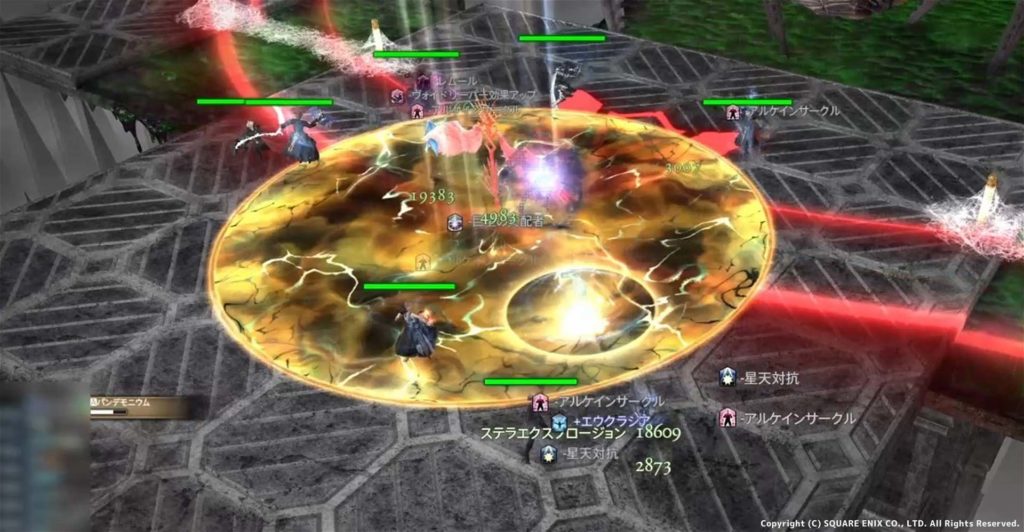
デバイドプルーム
- 中央の大き目の円から狭めの連続扇範囲
- 最後に表示された範囲で待機し1個目が過ぎたら1個目に移動
デバイドプルームを動画で見てみる
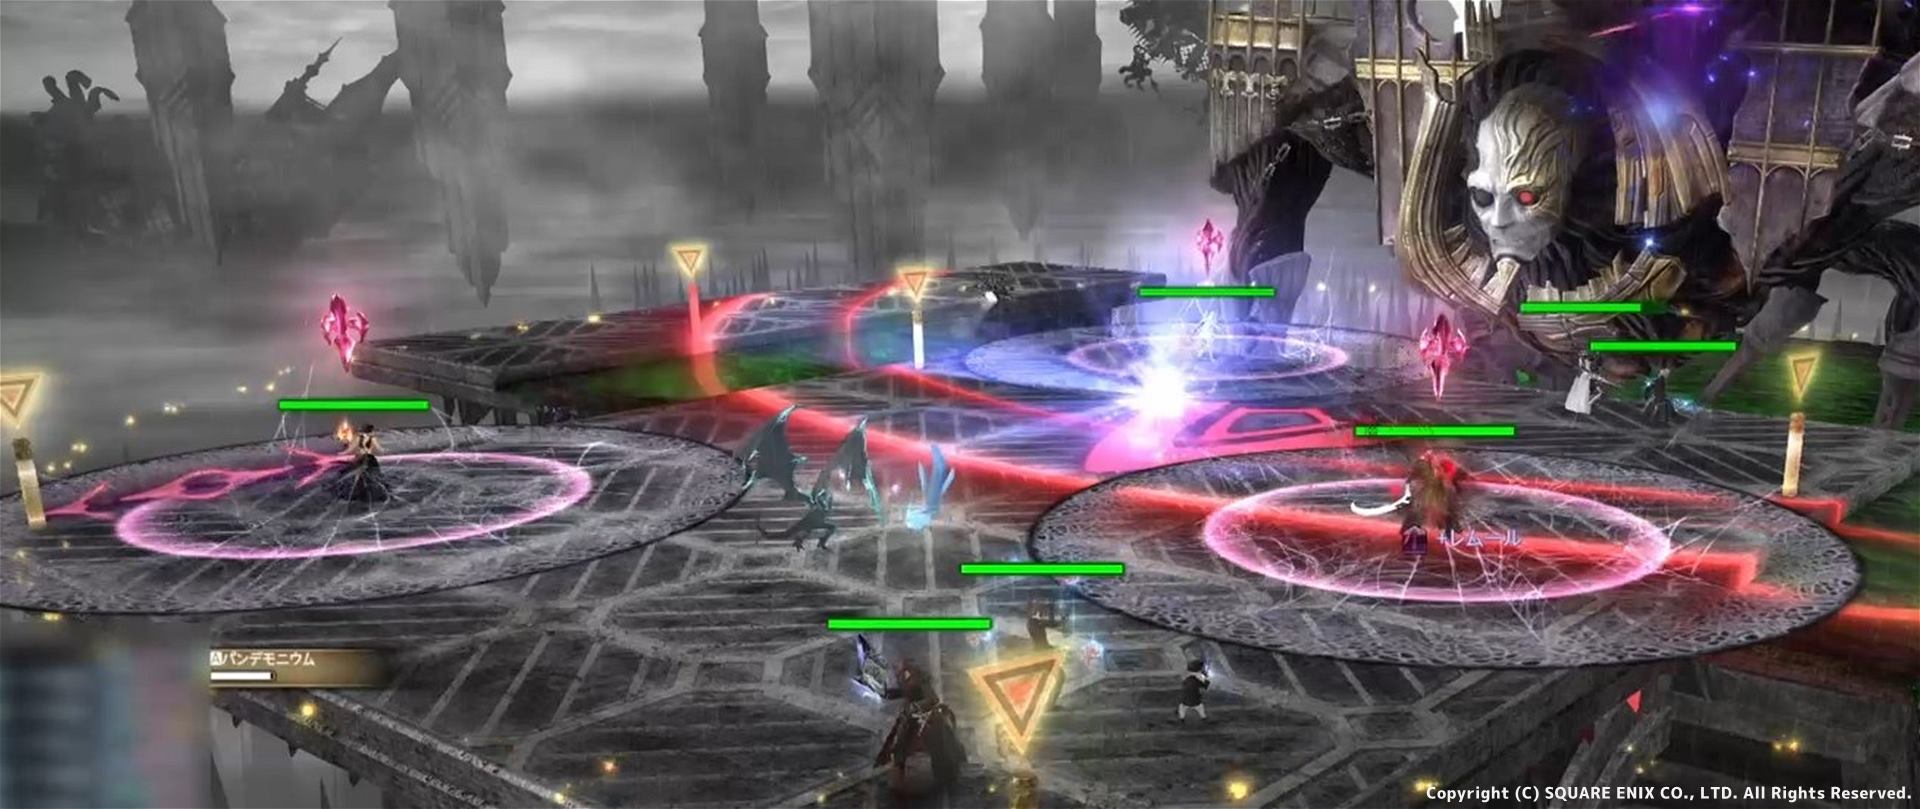
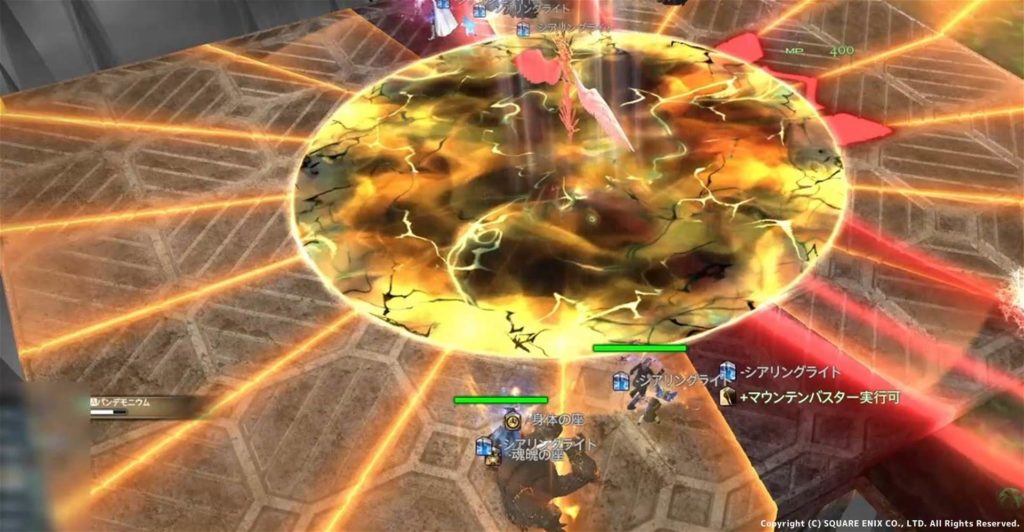
タッチダウン
- 中央に拡大する円範囲が出現
- 「グランドウェブ」で形成された橋で隣の足へ移動回避
(中央にいると即死)
ダッチダウンを動画で見てみる
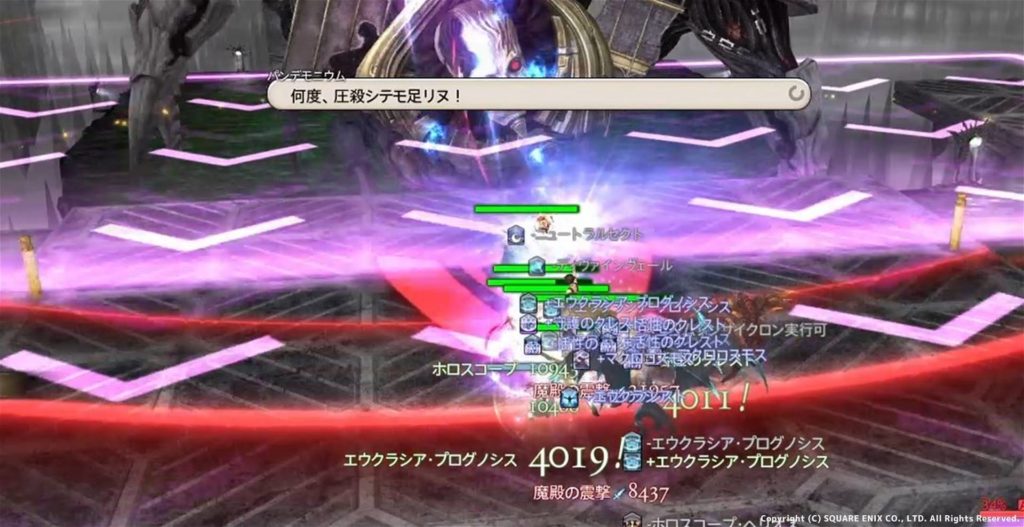
魔殿の震撃
- ボスのフィールドに連続頭突きに合わせて連続ダメージ(しっかり回復)
- 連続頭突き後ボス正面から吹き飛ばし(フィールドの前によっておかないと落ちる)
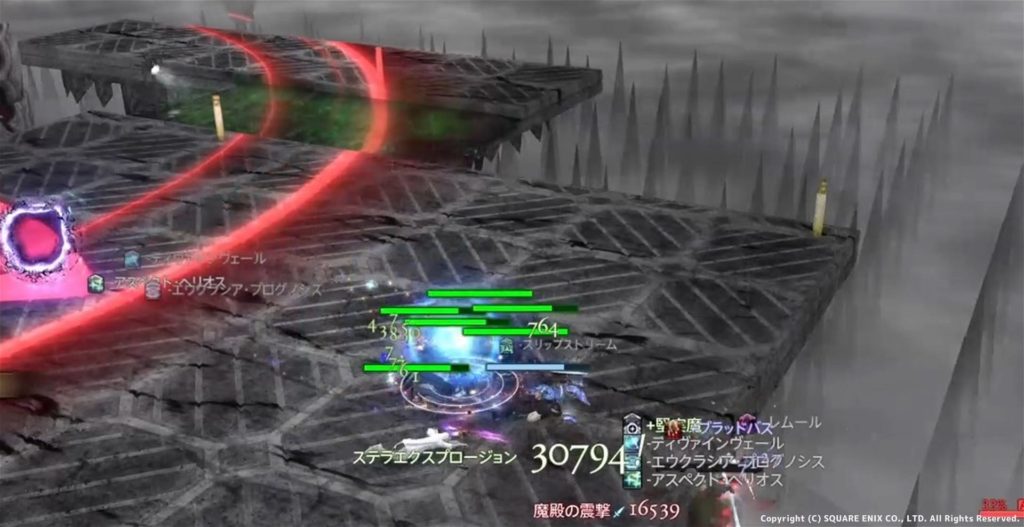
魔殿の震撃を動画で見てみる
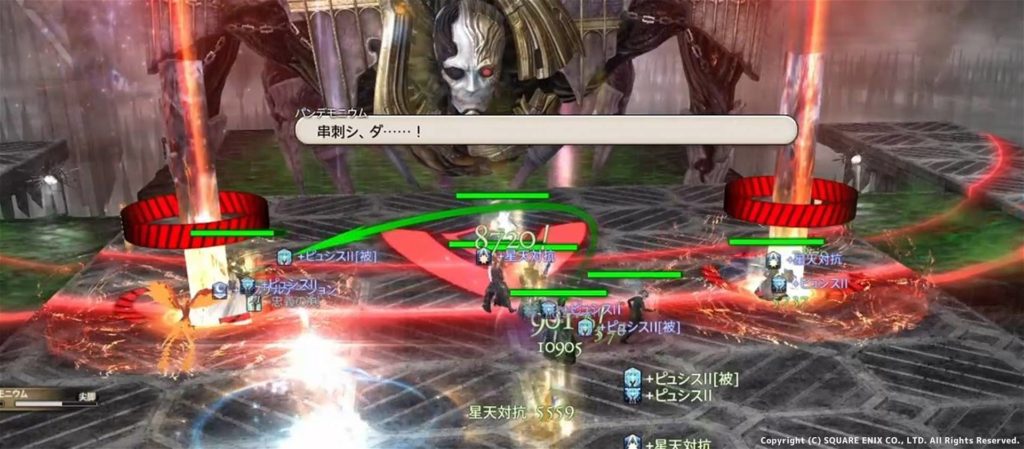
尖脚
- 塔が2本出現するのでタンクがそれぞれ入り受ける
コメント